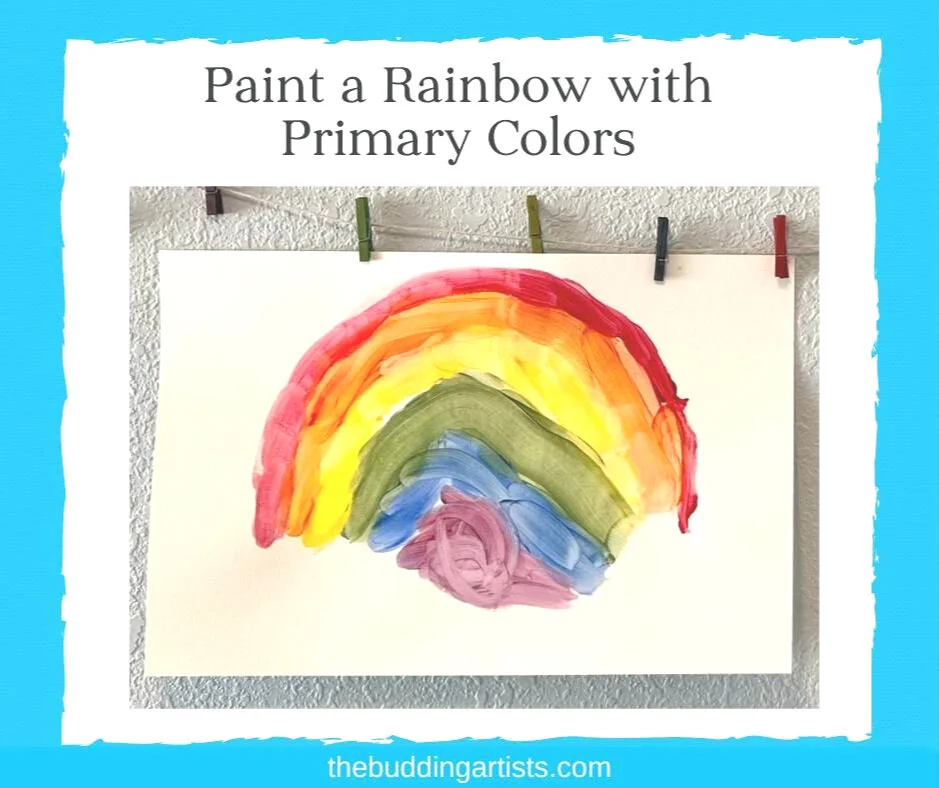
Mix Primary Colors to Paint a Rainbow with Kids
This is a fun painting activity for kids of all ages (adults too) to practice color mixing while painting a rainbow.
Tempera paint is a perfect medium for watching the primary colors (red, yellow, and blue) blend into the secondary colors (green, orange, and purple). Plus it’s washable!
Disclosure: This post contains affiliate links. As an Amazon affiliate, I earn a small commission on purchases made through these links. 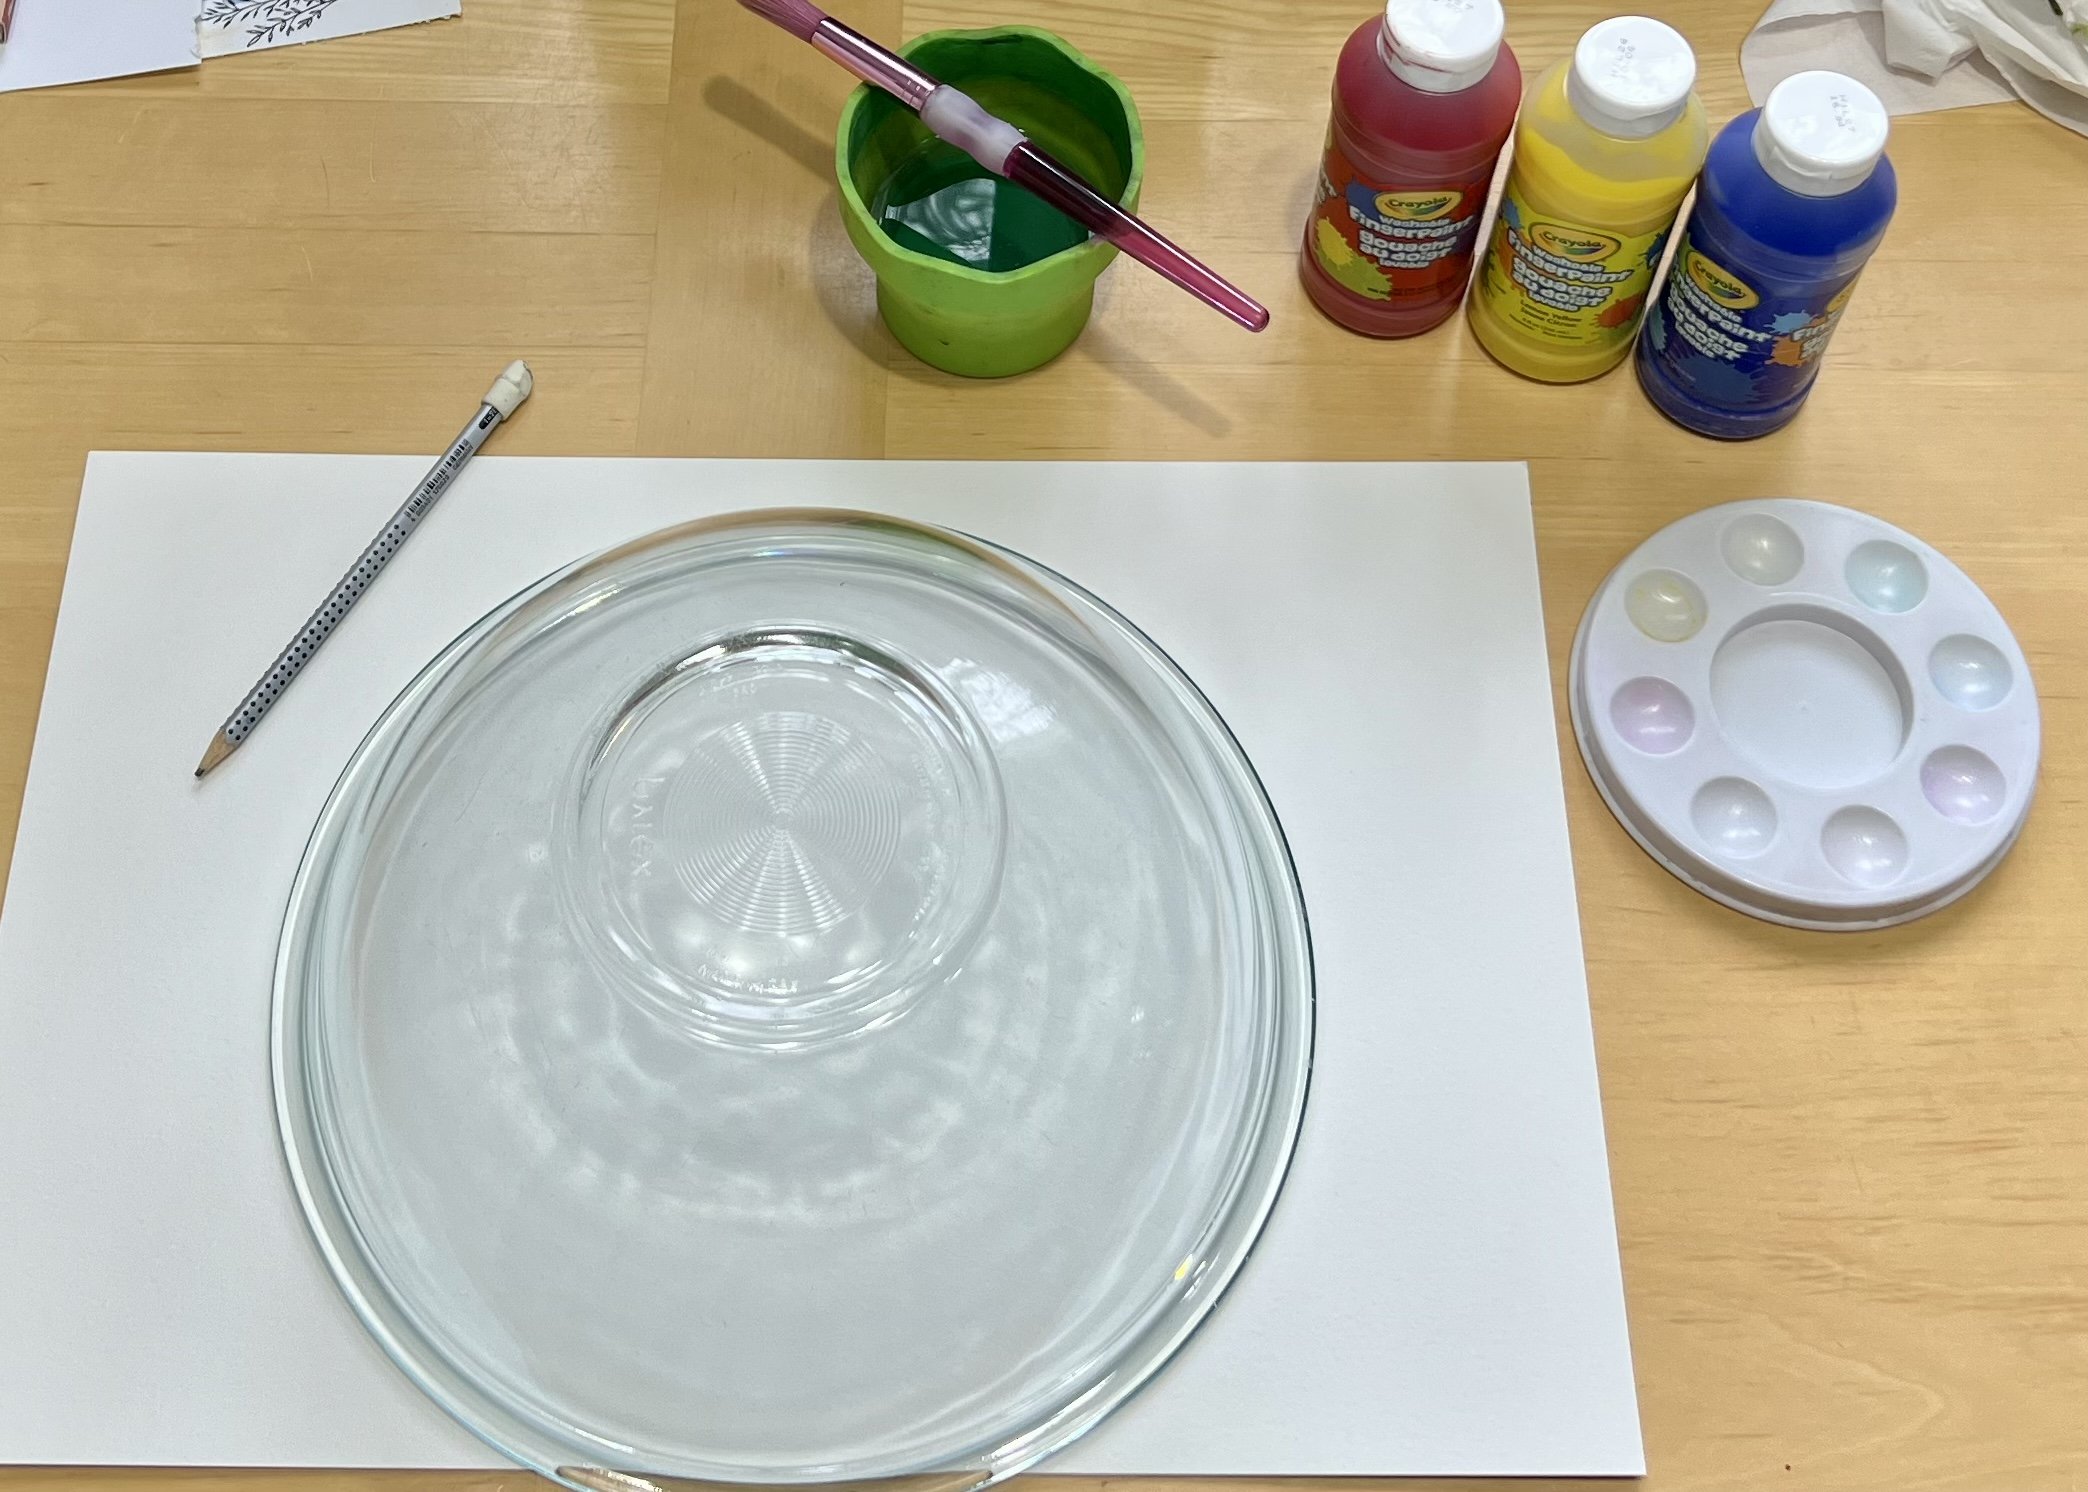
Materials:
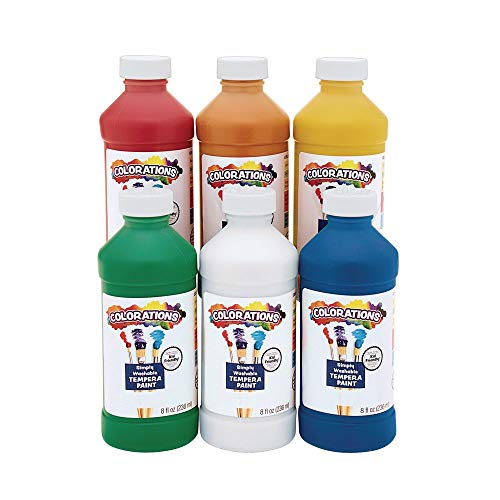
washable tempera paint (red, yellow, and blue only)
cup of water (for rinsing the brush)
paintbrush
Mixed media paper
paper towel or old rag for drying paintbrush when switching colors
Optional: crayons and drawing paper to review the colors of the rainbow.
Stuff to Know:
What are the colors of the rainbow?
The official colors of the rainbow are red, orange, yellow, green, blue, indigo, and violet. Many art teachers use the acronym ROY G BIV to help kids remember them.
When we teach the colors of the rainbow to young children we simplify it and combine the last two colors and just call it purple.
The Primary colors are RED, BLUE, and YELLOW.
These colors can be combined to make the secondary colors ORANGE, GREEN, and PURPLE.
OPTIONAL FIRST STEP:

If you’re doing this activity with really young kids, I recommend reviewing the colors of the rainbow as well as which primary colors to mix to make each secondary color.
Show kids a simplified version of the rainbow and say the colors in order together. (You can download our free rainbow pdf at the bottom of this post.)
Get out some plain paper and crayons or markers in the primary colors (red, yellow, and blue).
Guide children through the following:
mix red and yellow to make orange
mix yellow and blue to make green
mix blue and red to make purple
Kids can also use their markers or crayons to draw a rainbow. This will give them a chance to practice drawing the shape of an arc.
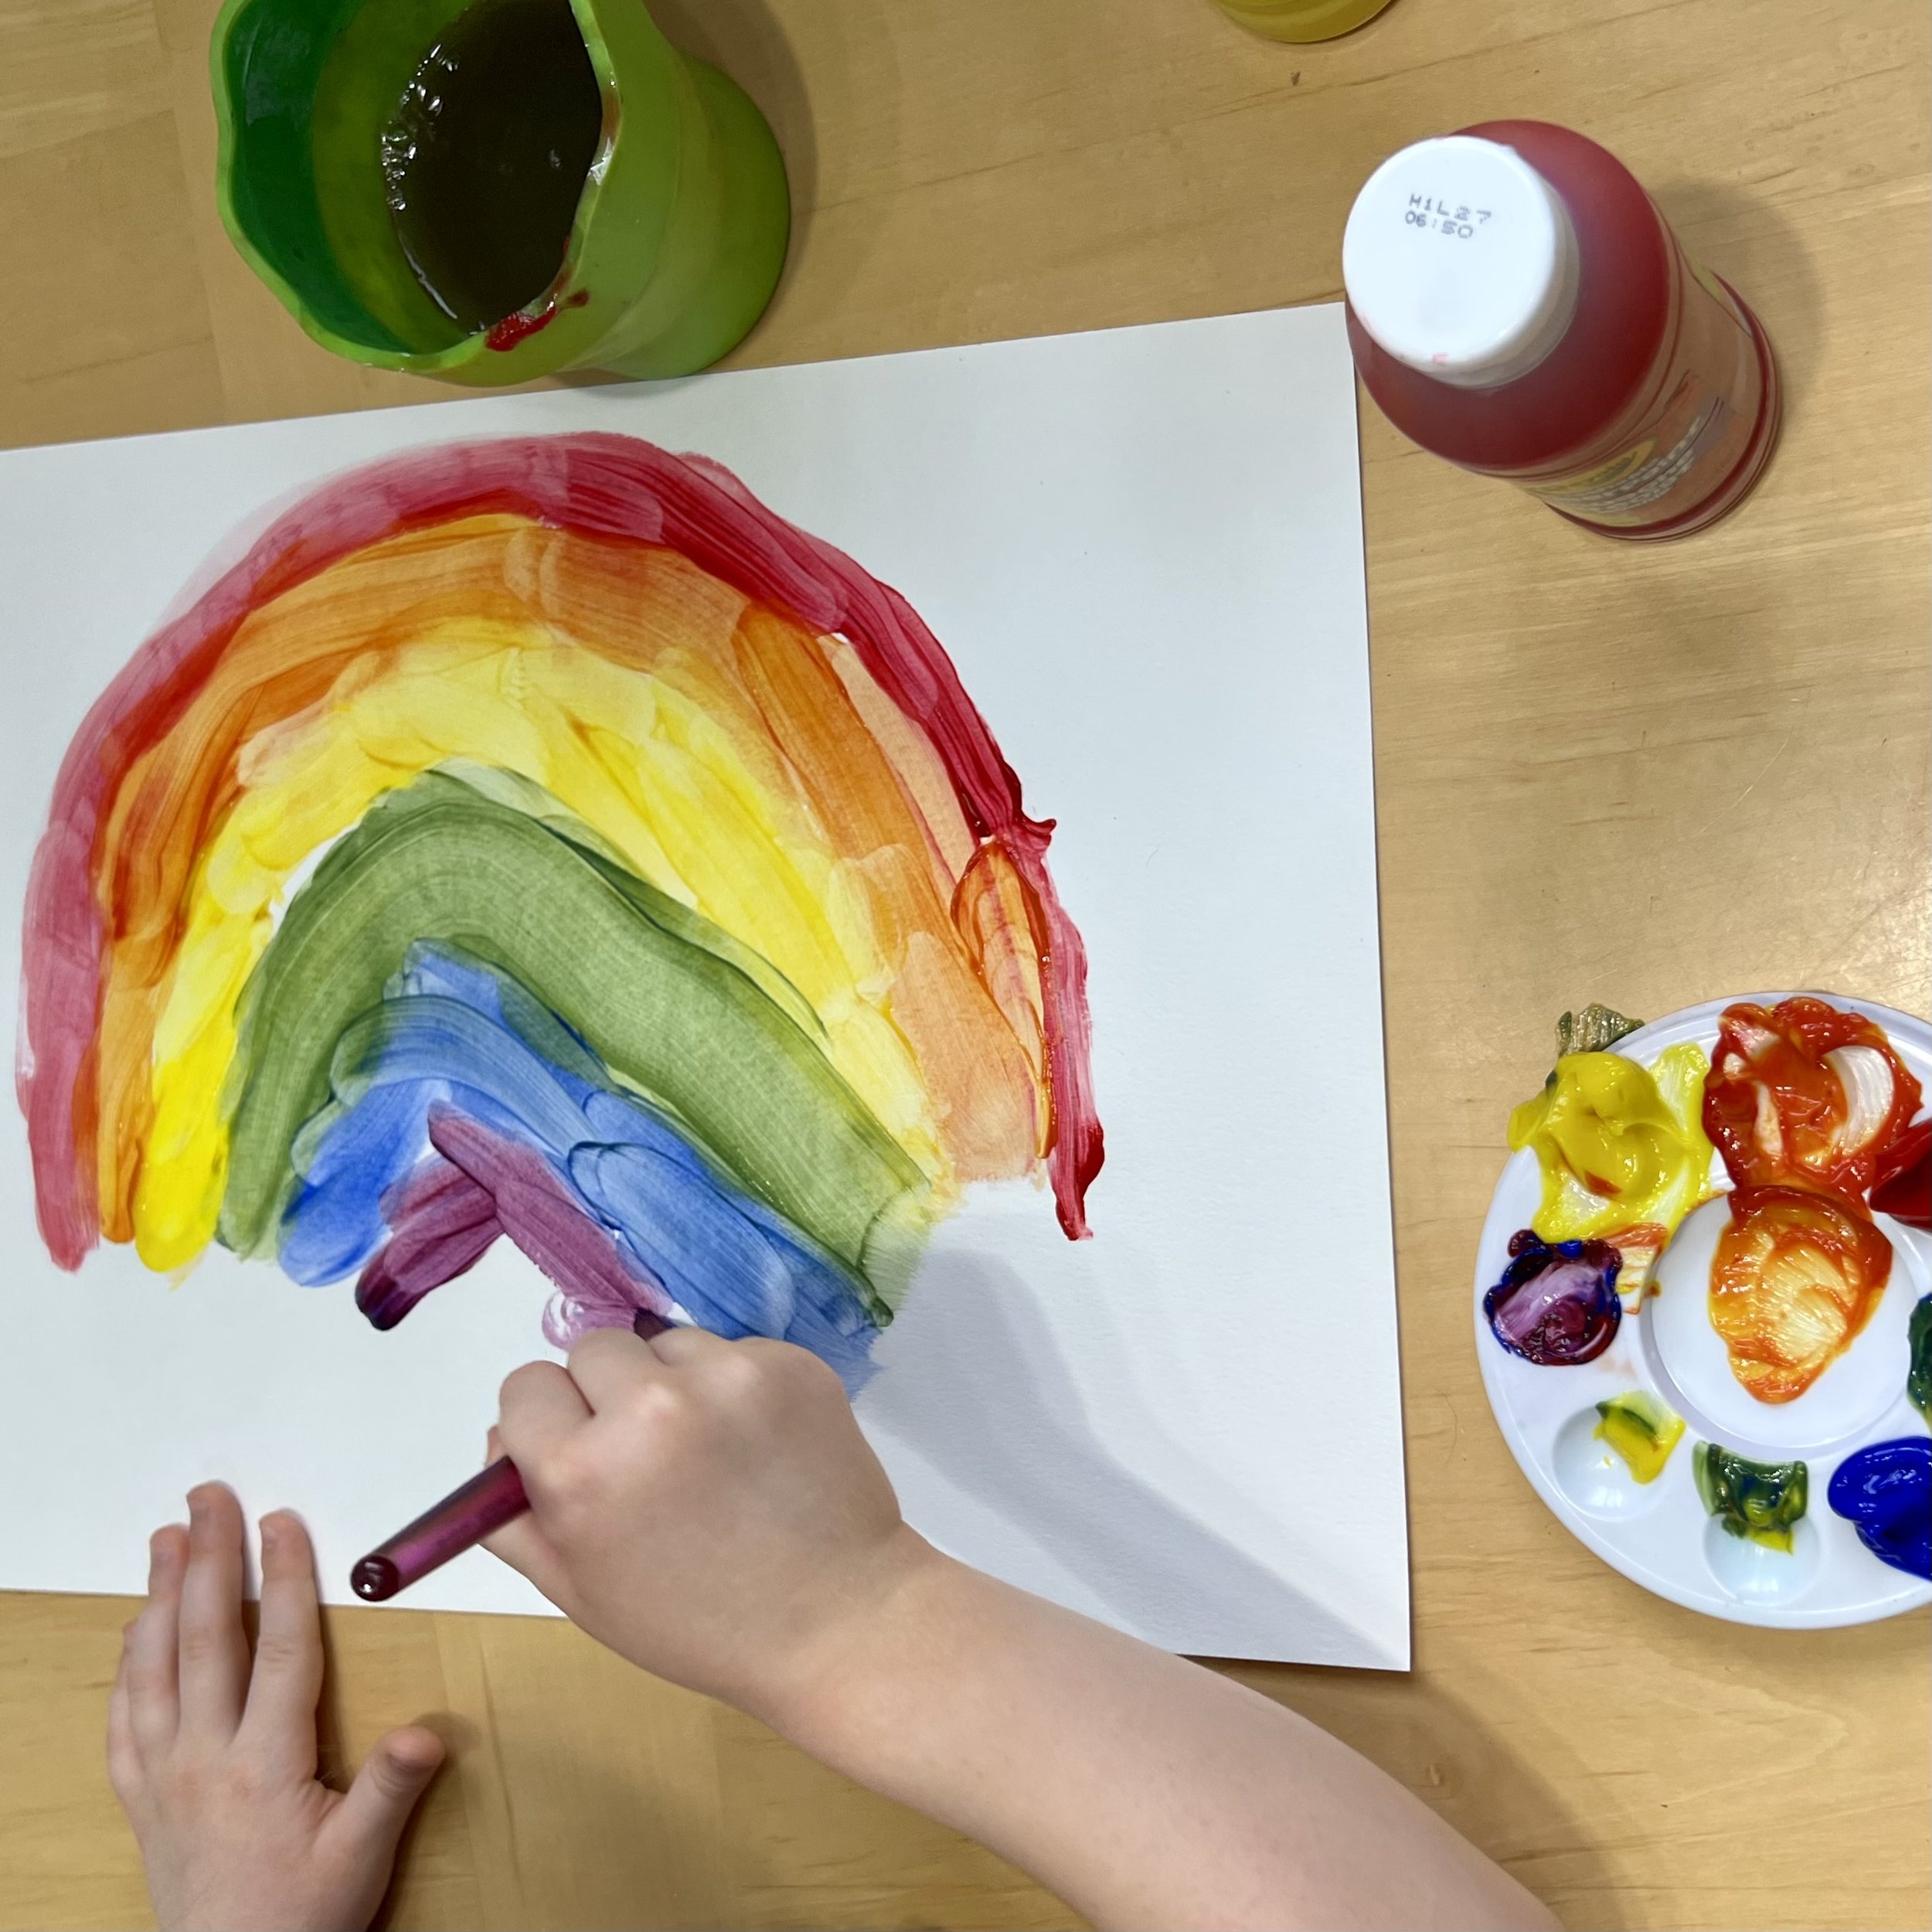
Prep your paint and workspace:
cover your workspace or get a large cookie sheet to work on.
fill a cup with water
Squeeze a quarter size amount of paint onto a palette. (One dollop of each primary color - red, yellow, and blue)
For very young painters, you can guide the activity more closely by only giving them one color at a time to work with. (Start with only red. Then give them a little red and yellow to mix to paint orange, then give them some plain yellow, etc…)

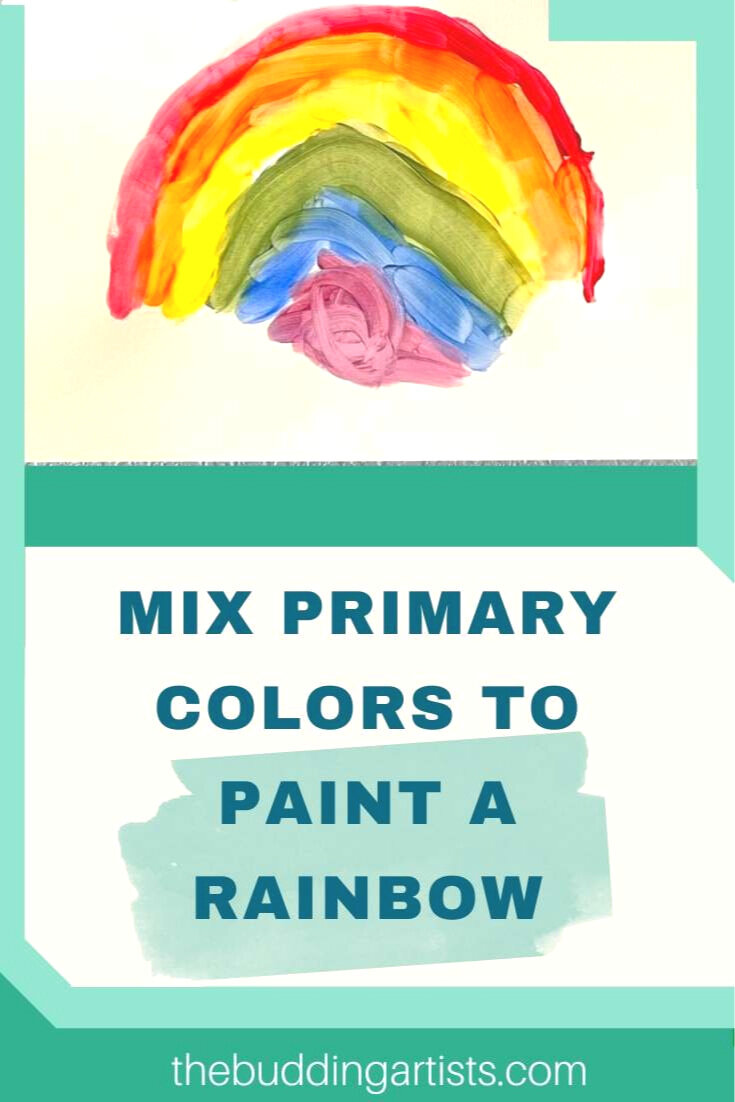
Paint the rainbow:

Trace an arc in pencil onto your mixed media paper to show where to begin the rainbow. (We traced a large bowl.)
Dip the paintbrush into the red paint and paint over the penciled-in arc.
Once satisfied with the red layer, use the paintbrush to scoop equal parts of red paint and yellow paint into an open spot on the palette to mix them together and create orange.
Paint an orange arc directly below the red arc. It’s better if the arcs of color are touching even if that leads to a bit of color mixing…that just looks more like a real rainbow.
Rinse and dry the brush on the paper towel and then paint the yellow arc under the orange one.
Use the paintbrush to grab some yellow and blue paint into a clear space on the palette to mix them into green.
Paint the green arc.
Paint the blue arc.
Using the paintbrush, mix blue and red paint to make purple.
Paint the purple arc.
Leave flat to dry completely before hanging.
Painting is a very soothing activity (for kids and adults). Be sure to have more paper ready because the kids are likely going to want to keep painting.
Happy Painting!
Be sure to save this tutorial for later.
The image below is Pinnable. Thanks!


Don’t forget to download our free full-color rainbow pdf for kids to use as a guide.
Just click the button.
And for more hand-created full-color printables, be sure to subscribe below for access to our free Resource Library.