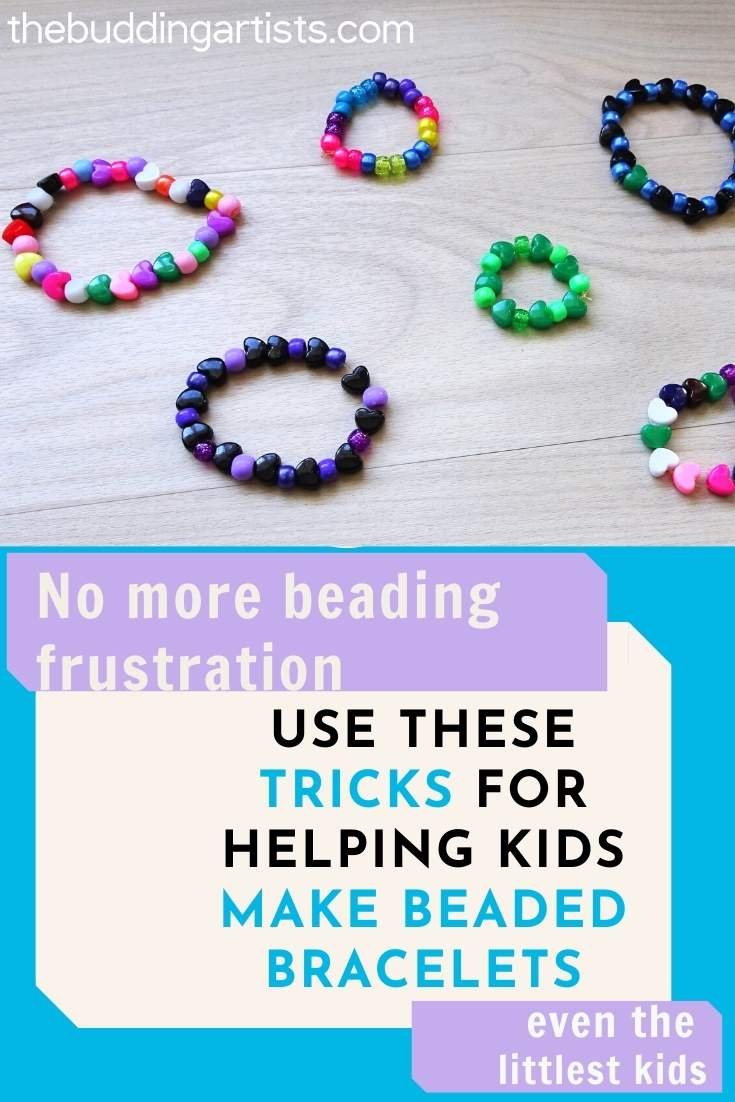
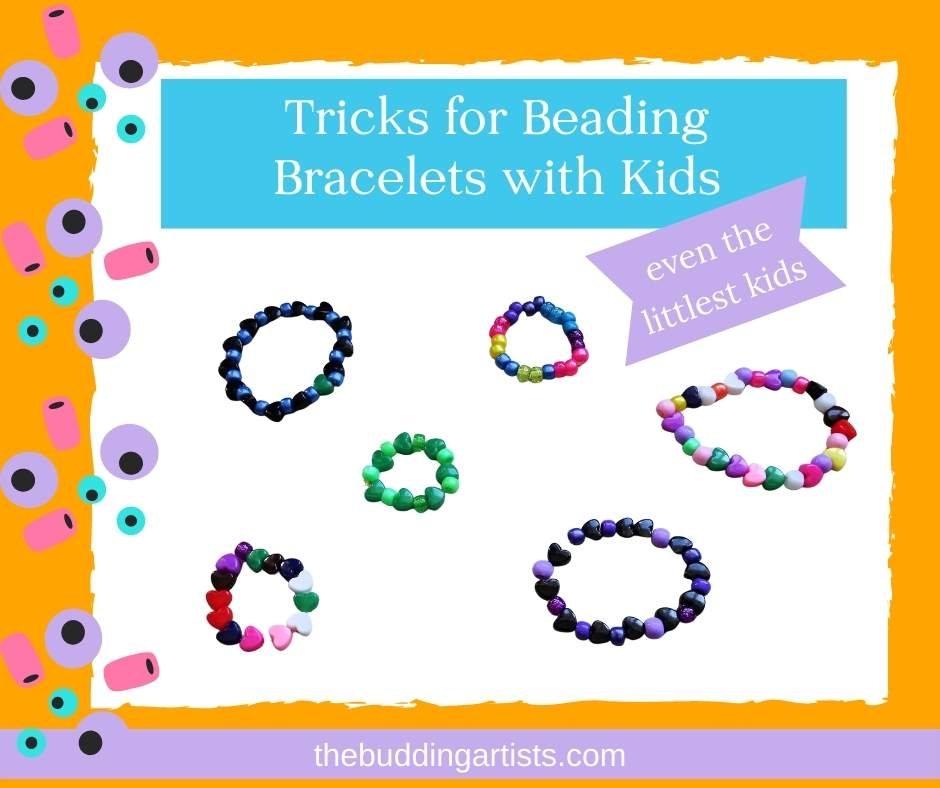
Tricks for Beading Bracelets with Kids
Making beaded bracelets (and necklaces) is a great handicraft activity for kids (and adults). The finished product can be gifted to loved ones, shared with friends, or just enjoyed as a colorful accessory.
But stringing beads can be difficult for kids who haven't yet mastered some of those necessary fine motor skills. We’ve come up with a way to help the littlest of crafters join in the fun and make handmade beaded bracelets.
tricks for beading bracelets with young kids using stretch magic string
Materials:
large round beads
1 mm stretch magic thread
a pipe cleaner (fuzzy stick)
binder clip or chip clip
Note: At the bottom of this post you’ll find affiliate links for the products listed here. As an Amazon affiliate, I earn a small commission on products purchased through these links at no extra cost to you.
Steps for Making a Beaded Bracelet
Watch the video first to get the gist of how our trick for stringing beads works.
Measure, cut, and pre-stretch a piece of stretch magic string for the bracelet. (Use a longer piece if making a necklace.) Be sure to REALLY stretch the string. When you think you’ve stretched it enough, stretch it some more. This will make it easier to keep the knot tied in place at the end.
For little kids: Using the chip clip, clip one end of the string to one end of a fuzzy stick (pipe cleaner). And twist the other end of the magic string around the other end of the pipe cleaner. Fold about an inch of the pipe cleaner over the twisted string and squeeze together tightly. Little kids will string the beads onto the folded end of the pipe cleaner which will be easily removed later once the beads are strung.
For older kids: Older kids won’t need to use the pipe cleaner for stringing beads (though they may still want to). Put a binder clip toward the end of the string to stop the beads from sliding off the string. Be sure to leave about an inch and a half of string hanging past the clip (for tying the knot at the end).
Have kids spend time laying out beads in a pattern they want for their bracelet.
Thread beads onto the pipecleaner/string. Don’t add beads to the last inch and a half of pipe cleaner/string.
Removing the pipe cleaner from the bracelet: Once beads have been threaded, carefully unfold the pipe cleaner and untwist the string. (Don’t let go of it.) Also unclip the other end of the string CAREFULLY and keep a good hold on it. Put both ends of the string in one hand (holding tightly), and carefully pull the pipe cleaner out from the beads. (This will be easier to do with another pair of hands.)
Tying the bracelet: Cross the two ends of the stretch string and twist over each other twice in a row. Then cross and double twist a second time before pulling the knot tight. REALLY tight.
Once you’re sure the knot is tight enough and the string is not trying to unravel, trim any excess string.
With these beading tips, even the littlest of crafters can join in the fun of making bracelets and necklaces.