Cotton ball Snowman Winter Scene

Looking for a fun but simple way to keep little hands busy this winter? This Cotton ball Snowman Winter Scene is the perfect indoor activity. It’s fun for kids, but easy enough that even the littlest ones can participate.

Disclaimer: This post contains affiliate links. As an Amazon affiliate, I earn a small commission through purchases made through these links.
Why we like this project for kids.
It allows for individual creativity. There are so many ways kids can customize their snowman scene.
So many fine motor skills are involved in this project from pulling apart the cotton balls to rolling small balls of cotton to squeezing the liquid glue bottles.
The final product is a fun winter scene.
Materials:
Blue Cardstock or Construction paper (8.5X11 or 9x12)
Cotton balls 8-10 per picture/project
Glue (liquid works best, but stick glue should work too)
Pencil
Optional: cookie cutters or some kind of circle tracers
Optional: Markers (black and orange)
Optional: google eyes and orange foam for carrot nose
Baby wipes or damp cloth (optional, but always helpful when working with glue)
Steps:
Below is just a suggestion of the process. Feel free to do most steps in whatever order makes sense to you.
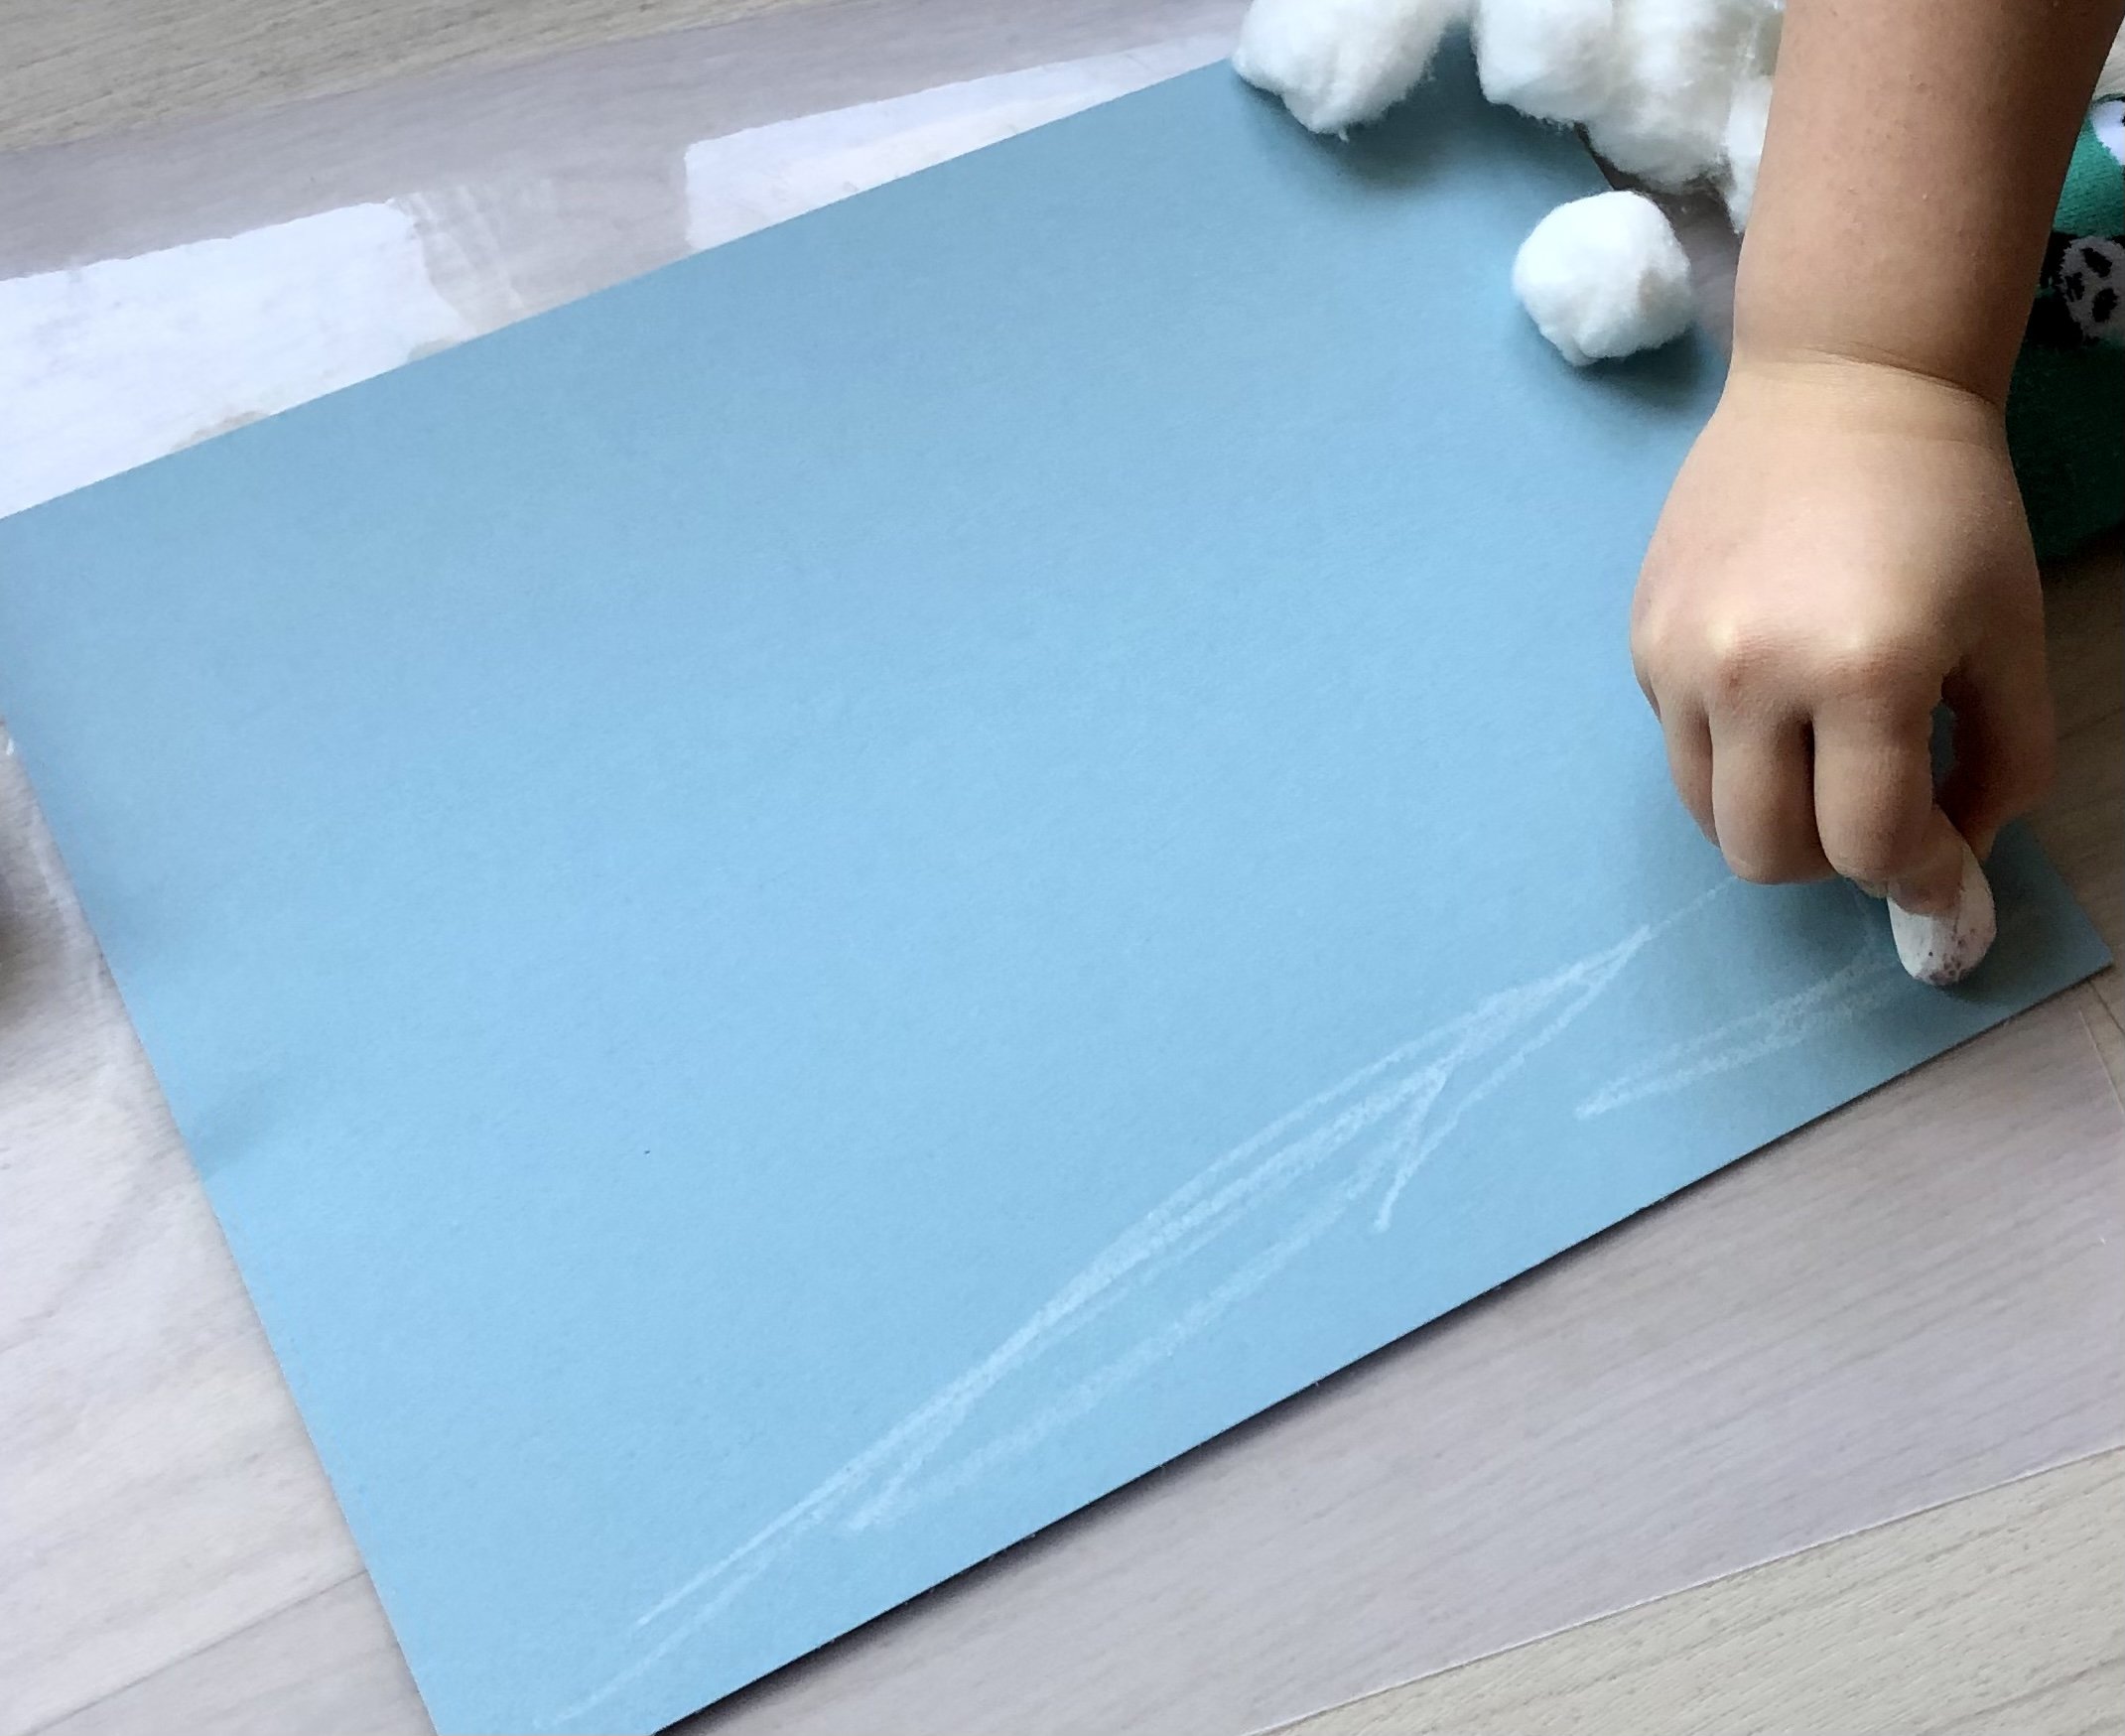
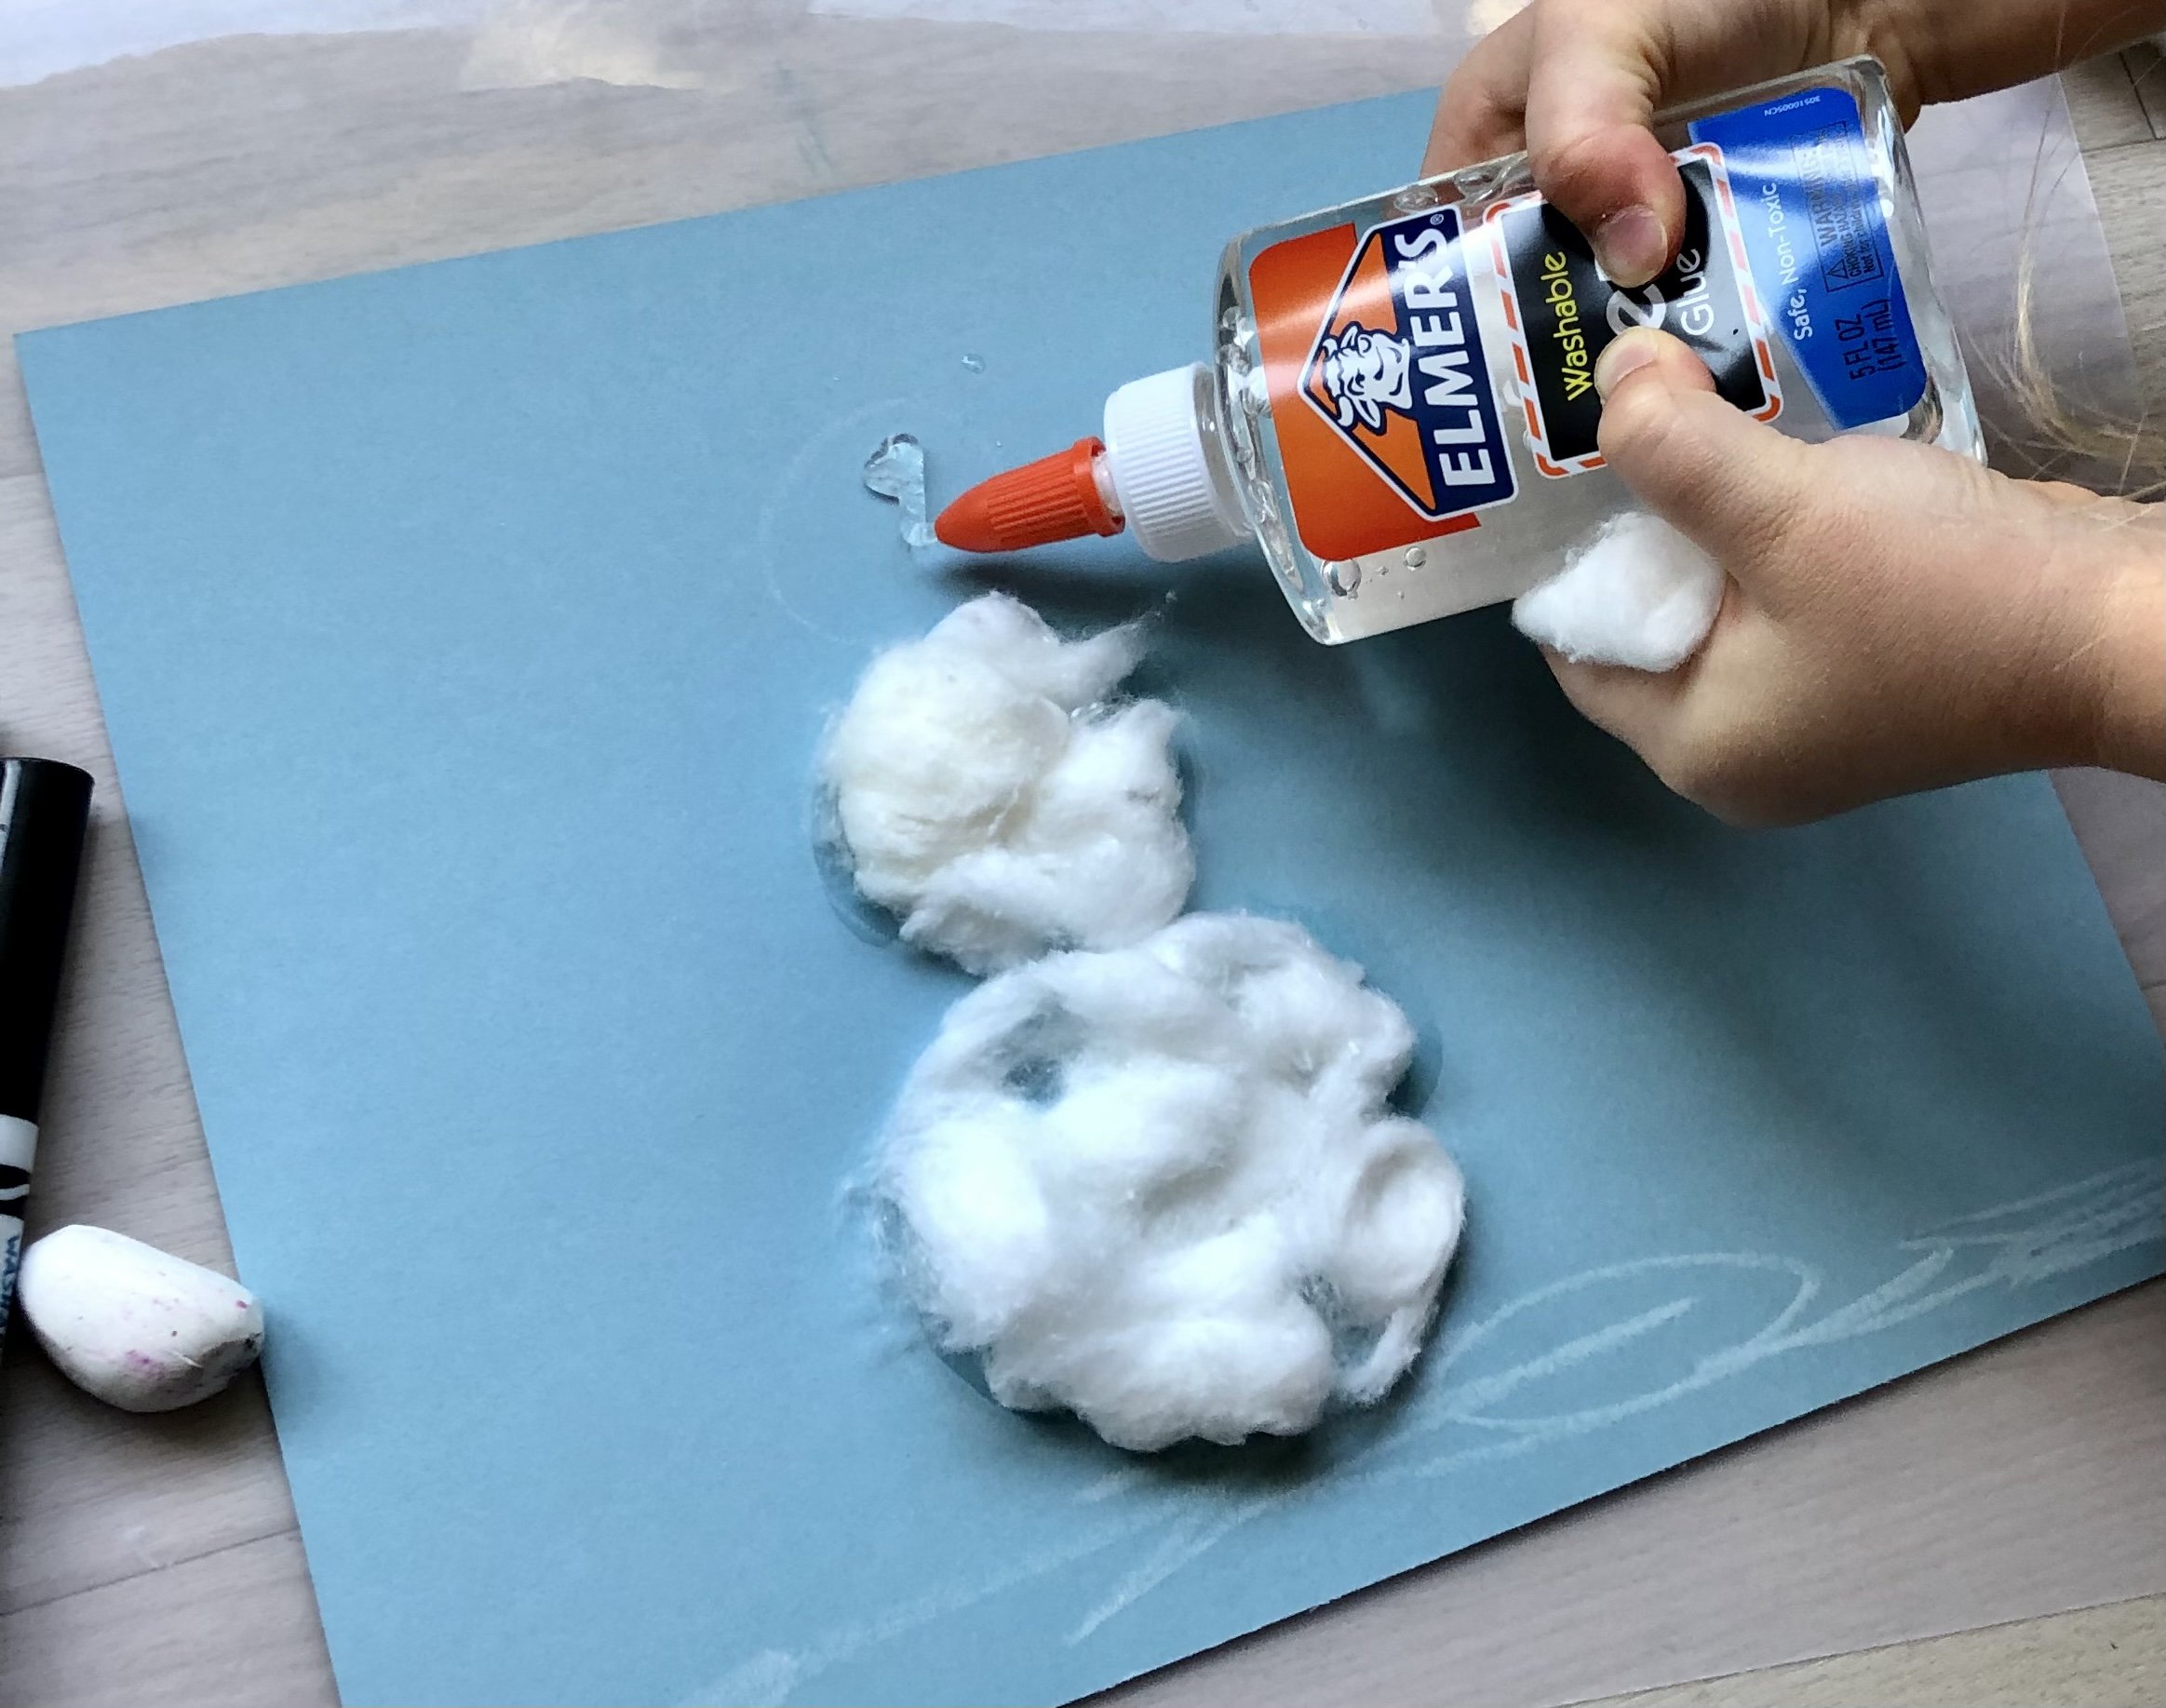
1. Prepare the paper - should be done by an adult or older child. First, decide if you want to orient your paper horizontally or vertically. Then, in pencil, draw three circles (progressively smaller from bottom to top) to represent the snowman. You can freehand these or use something to trace (like cookie cutters). You may want to make these floating circles in order to leave room across the bottom of the paper for a snowy base. Also, lightly draw in snowman arms and top hat where appropriate on the snowman circles.
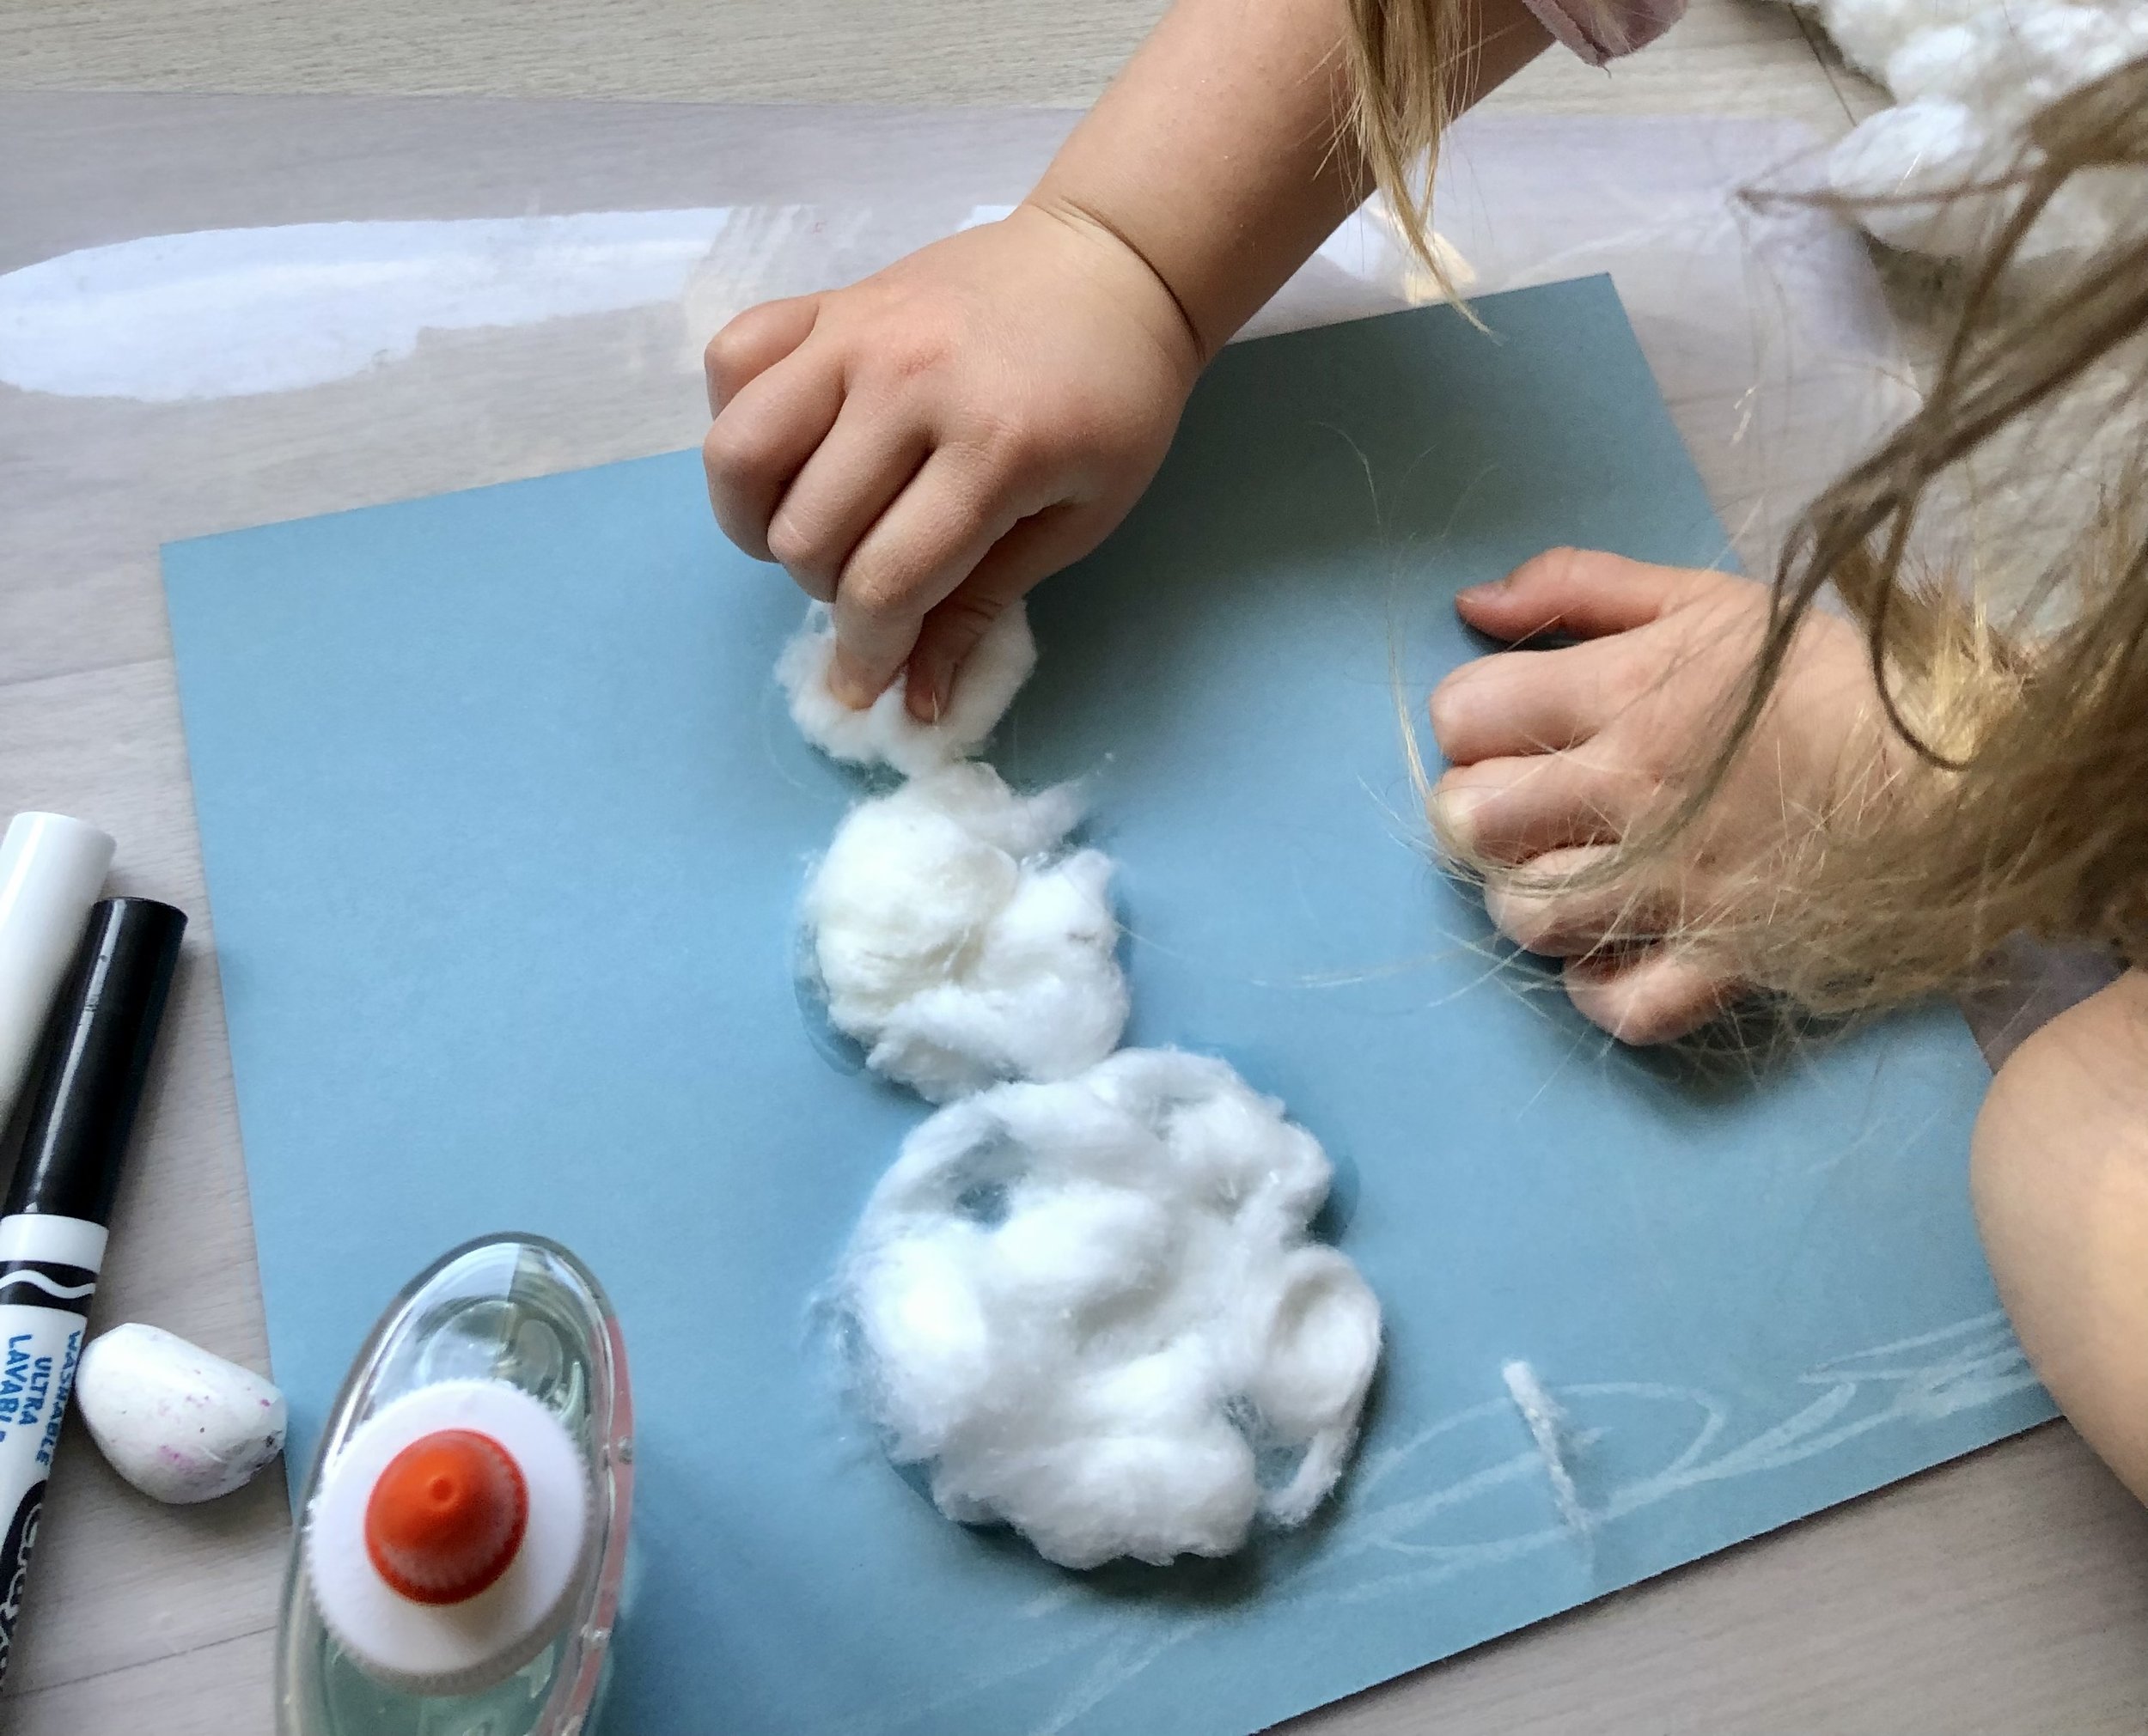
2. Show children how to pull apart 8-10 cotton balls so they have looser, fluffier pieces of cotton.
3. Help children draw a zigzag of glue across the bottom of the paper and then apply the loosened cotton to that line of glue to create a “snowy” layer at the bottom of their winter scene. Kids can draw the snow first with a white crayon or colored pencil. (optional)
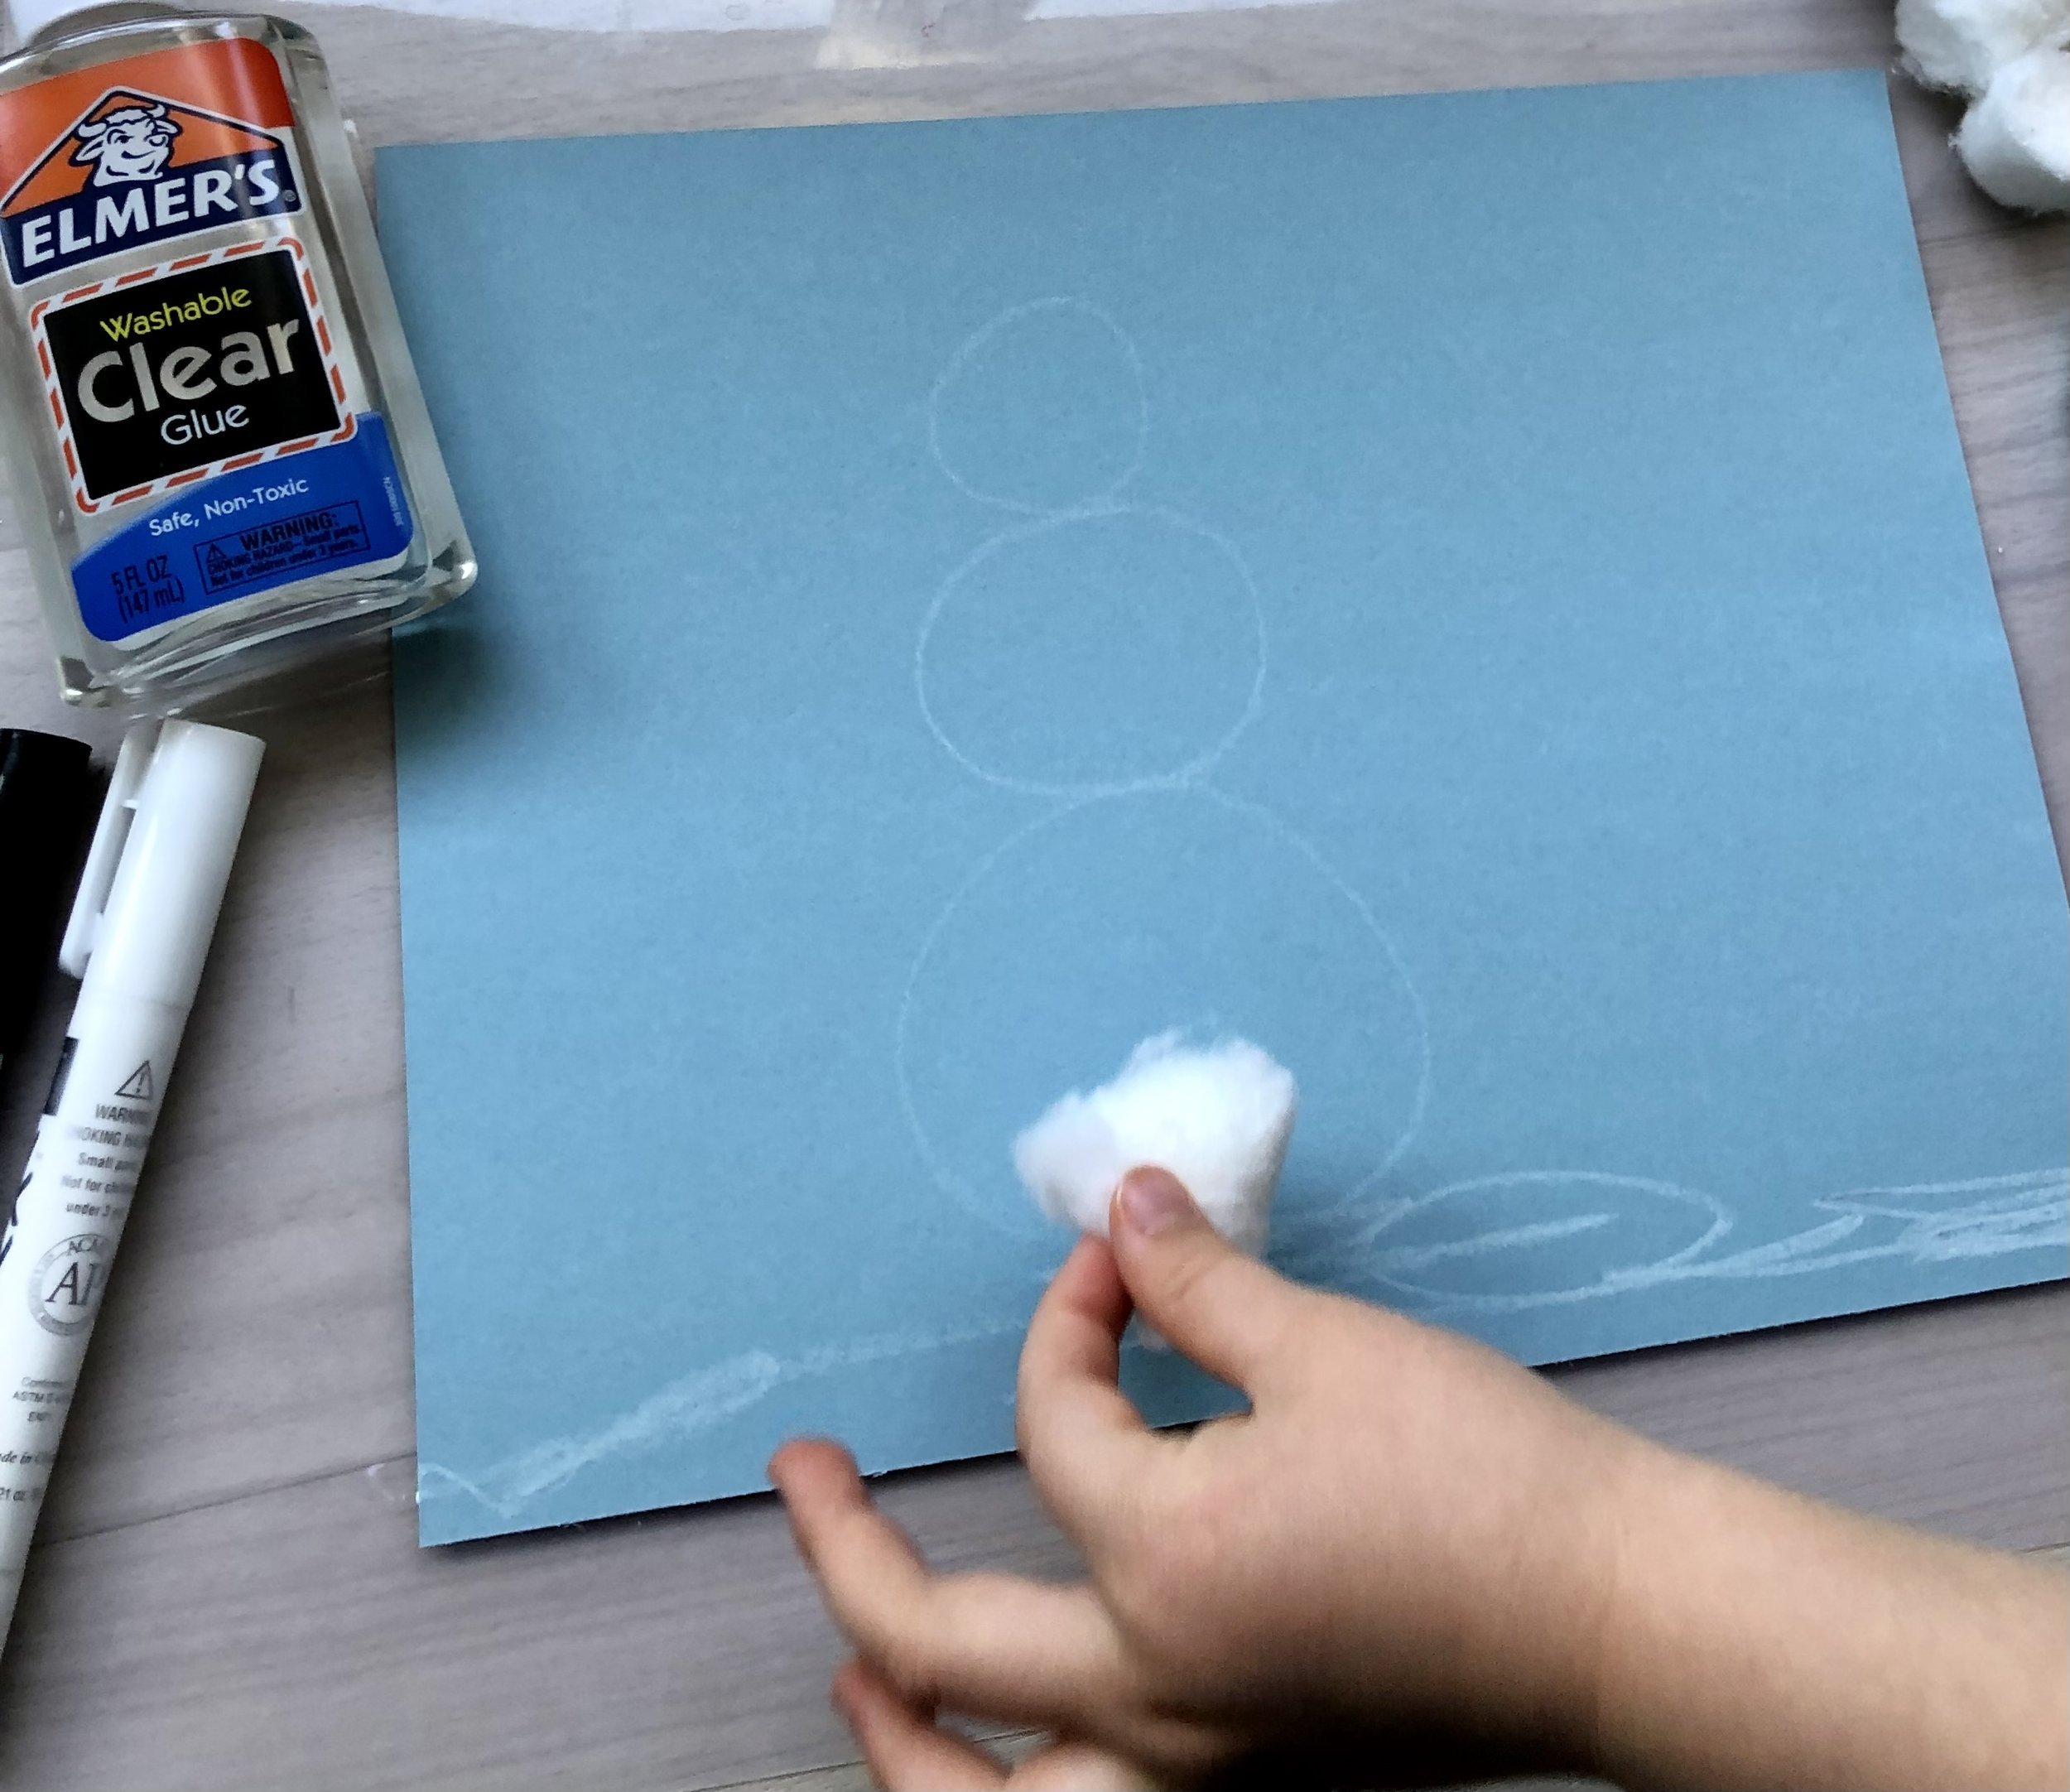
4. Have children add several small dots of glue in the bottom (or top) circle.
5. Stick the cotton pieces on the glue.
6. Repeat steps 4 & 5 for the remaining two snowman circles.
7. Once the snowman is covered in cotton, use a black or brown marker to draw the arms and top hat.
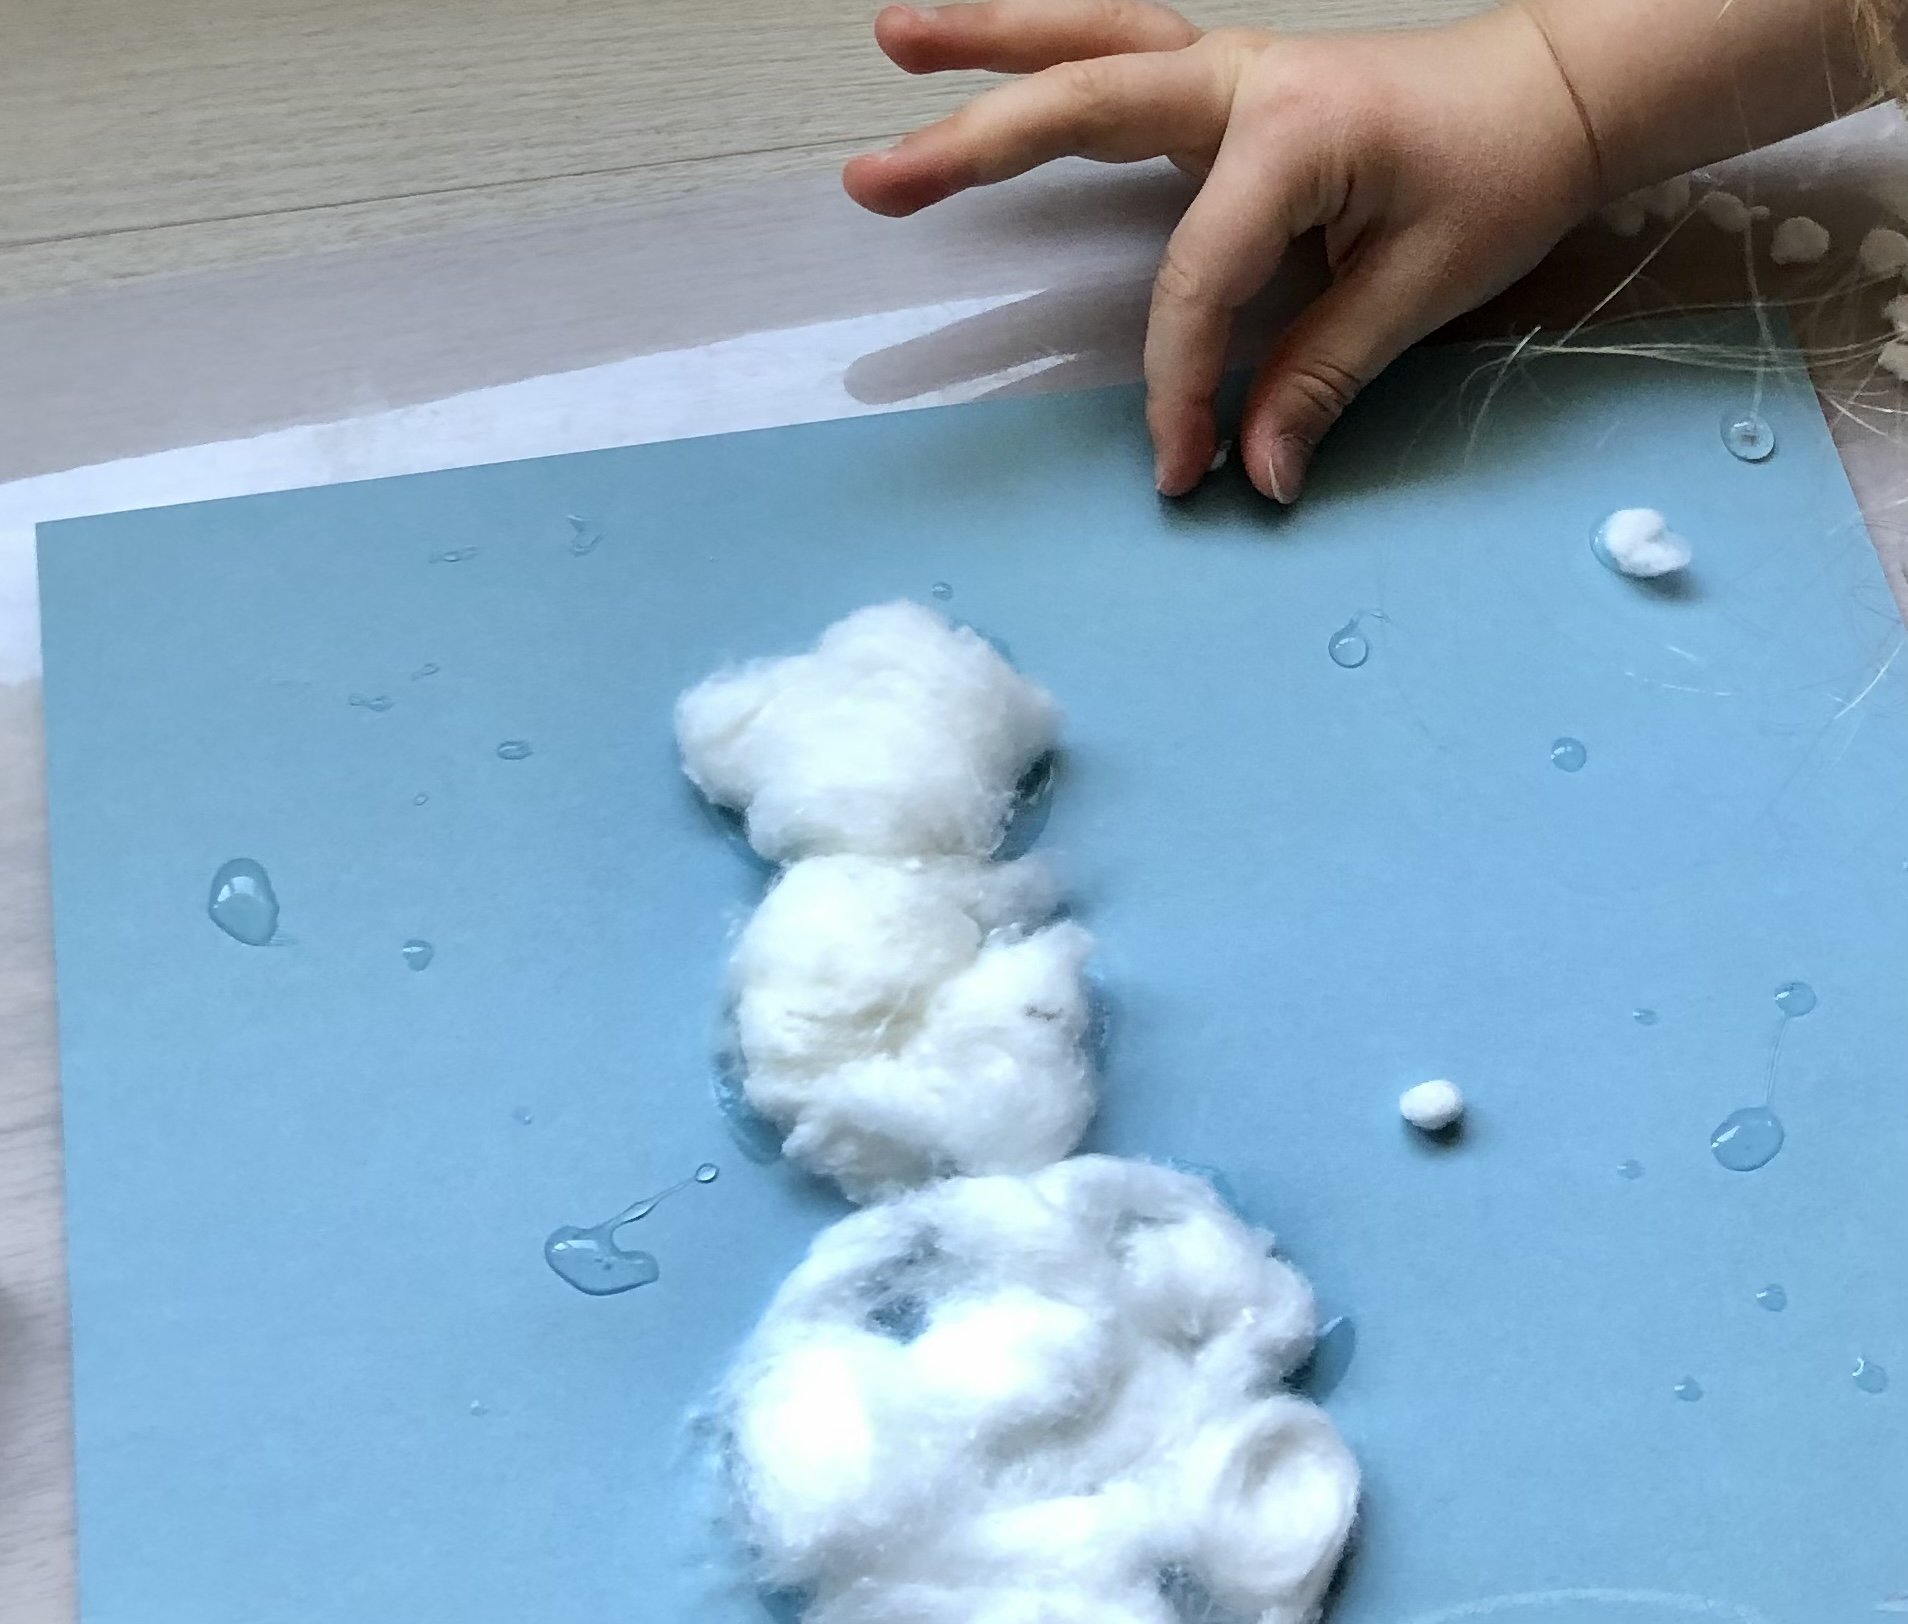
8. Next, show children how to tear a cottonball into small pieces and roll each piece into a small ball. This will represent falling snow.
9. Once the child has several small snowballs formed, place dots of glue randomly around the snowman and stick a little cotton snowball onto each dot of glue. It’s best to work with just a few dots of glue at a time so they don’t dry out before you get the cotton stuck to them.
10. Optional: Accessorize the snowman with google eyes and a carrot nose (orange triangle of construction paper or craft foam). You can draw or glue on black circles for buttons. Maybe you even want to add a strip of fabric for a scarf. Use black felt or a large black pom pom for the top hat.

Tips:
Work with a few cotton balls at a time to minimize mess.
If working with multiple children, have each child contain their own cotton pieces in a bowl or on a paper plate
Only work with a little bit of glue at a time to keep it from drying out before the cotton is placed on it.
If it’s too hard for the little kids to pull the cotton balls apart, let them glue on whole cotton balls for the snowman’s body.
Extend the fun
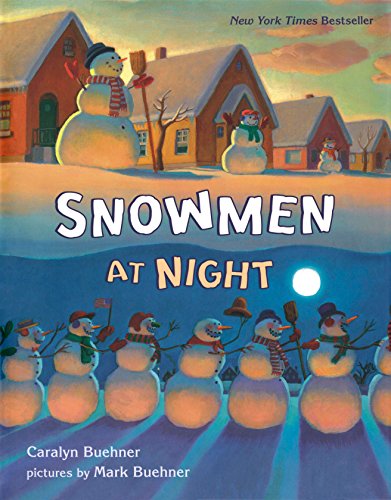
Make some hot cocoa and read snowman books. This is one of our favorites.
Give kids more paper and supplies and encourage them to create a whole snowy scene.
Save this project for later.
The image below is Pinnable!
Much thanks,
Tiff & Kim