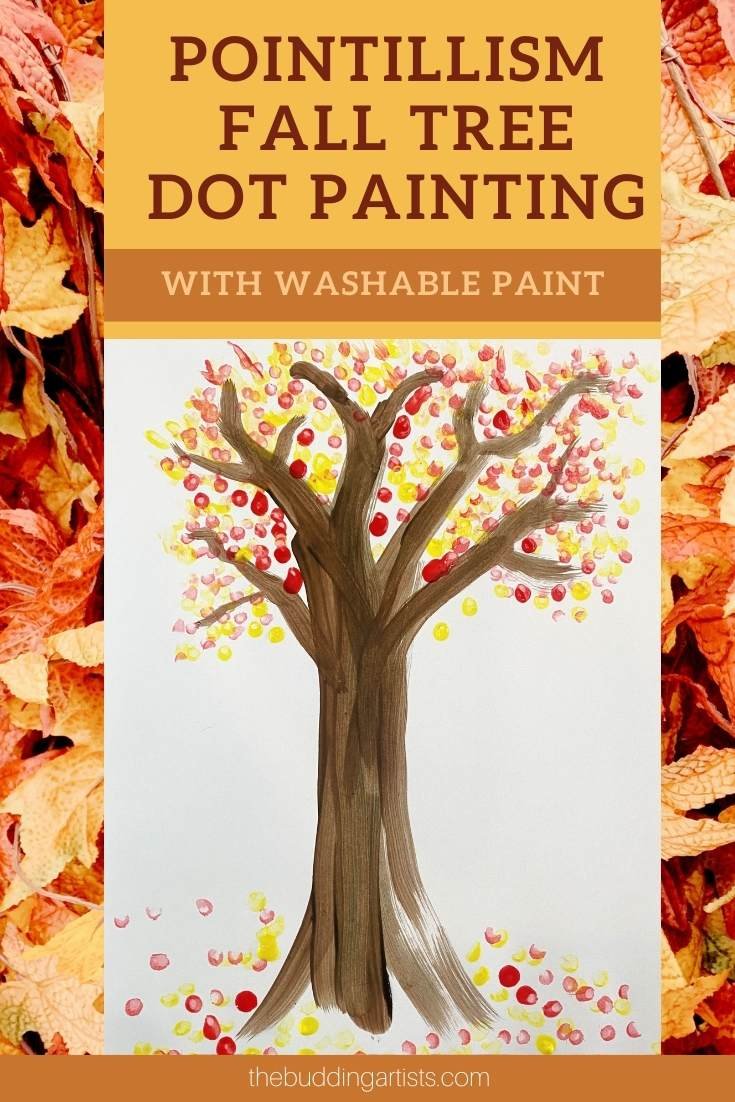
Pointillism Fall Tree Dot Painting

Kids (and adults) will have fun channeling their inner Seurat with this simple dot painting activity that uses simple (and washable) materials to make a piece of lovely fall decor.
Georges Seurat is the post-impressionist artist credited with creating the artistic style known as pointillism.
The goal of this activity is to use dots of red paint and dots of yellow paint placed next to each other (not mixed) to create the look of orange dots (leaves). You may need to view the finished painting from several feet away for the optical illusion to work and for your eyes to see the orange.
Please note: This post includes affiliate links. As an Amazon affiliate, I earn a small commission on purchases made through these links.
Materials Needed:
mixed media paper
q-tips
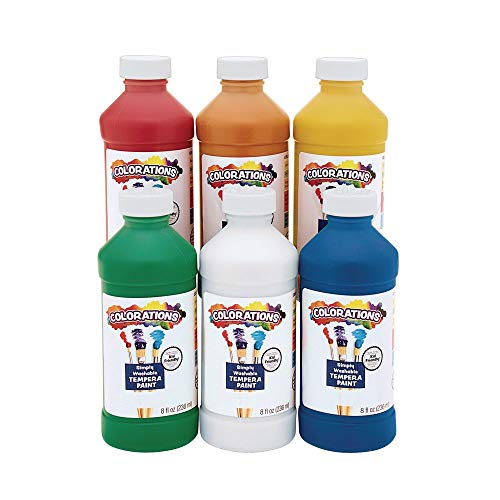
yellow washable tempera paint
red washable tempera paint
brown washable tempera paint (or brown construction paper)
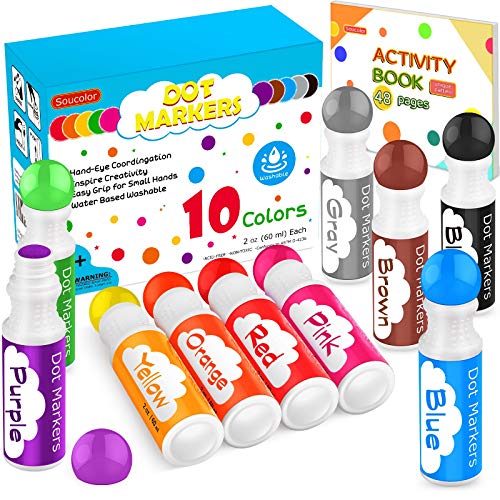
Optional (use do-a-dot paints for toddlers)
Set-Up: Even though tempera paint is completely washable, I still like to cover our workspace with either a washable or disposable tablecloth. I also like to define each artists’ work space — preferably with a tray of some kind. Large cookie sheets work great for this.
In each workspace set out the mixed media paper vertically. (For younger kids, you may want to add the leafless tree to the paper in advance.)
Provide multiple q-tips for each artist.
Squeeze a quarter size dollop of each color of paint into its own little dish. (Yogurt cups work great for this.) Use smaller amounts of paint if kids are going to have their own paint instead of sharing.
Steps to make the fall tree:
Set your piece of mixed media paper vertically and create a brown tree trunk. You can paint this on free hand, or draw one on brown construction paper that you then glue onto the white paper. (Optional: For older kids, challenge them to create the tree in the pointillism style as well using dots of colors that will resemble the color of a deciduous tree trunk when viewed from further away.)
Dip a q-tip (or fingertip) in washable yellow paint and paint dots around the “naked” limbs of the tree. Be sure to add some “fallen leaves” around the base of the tree. Artists will need to repeatedly dip into the paint every few dots. Some dots will be darker than others. This adds dimension to the painting.
Let the yellow paint dry for one minute, then use a clean q-tip to dip into the red paint. Apply red dots next to the yellow dots (in random order) trying not to mix the red and yellow paints. If a little mixes, don’t worry about it, but be sure to use a fresh q-tip before dipping into the red paint. You don’t want to turn your red paint orange by accidentally adding yellow to it.
Once you’re satisfied with the amount of red and yellow “leaves” covering the tree trunk, set it aside and let it dry. Think about where you will place your pointillism fall tree dot painting to enhance your fall decor. You could even frame it.