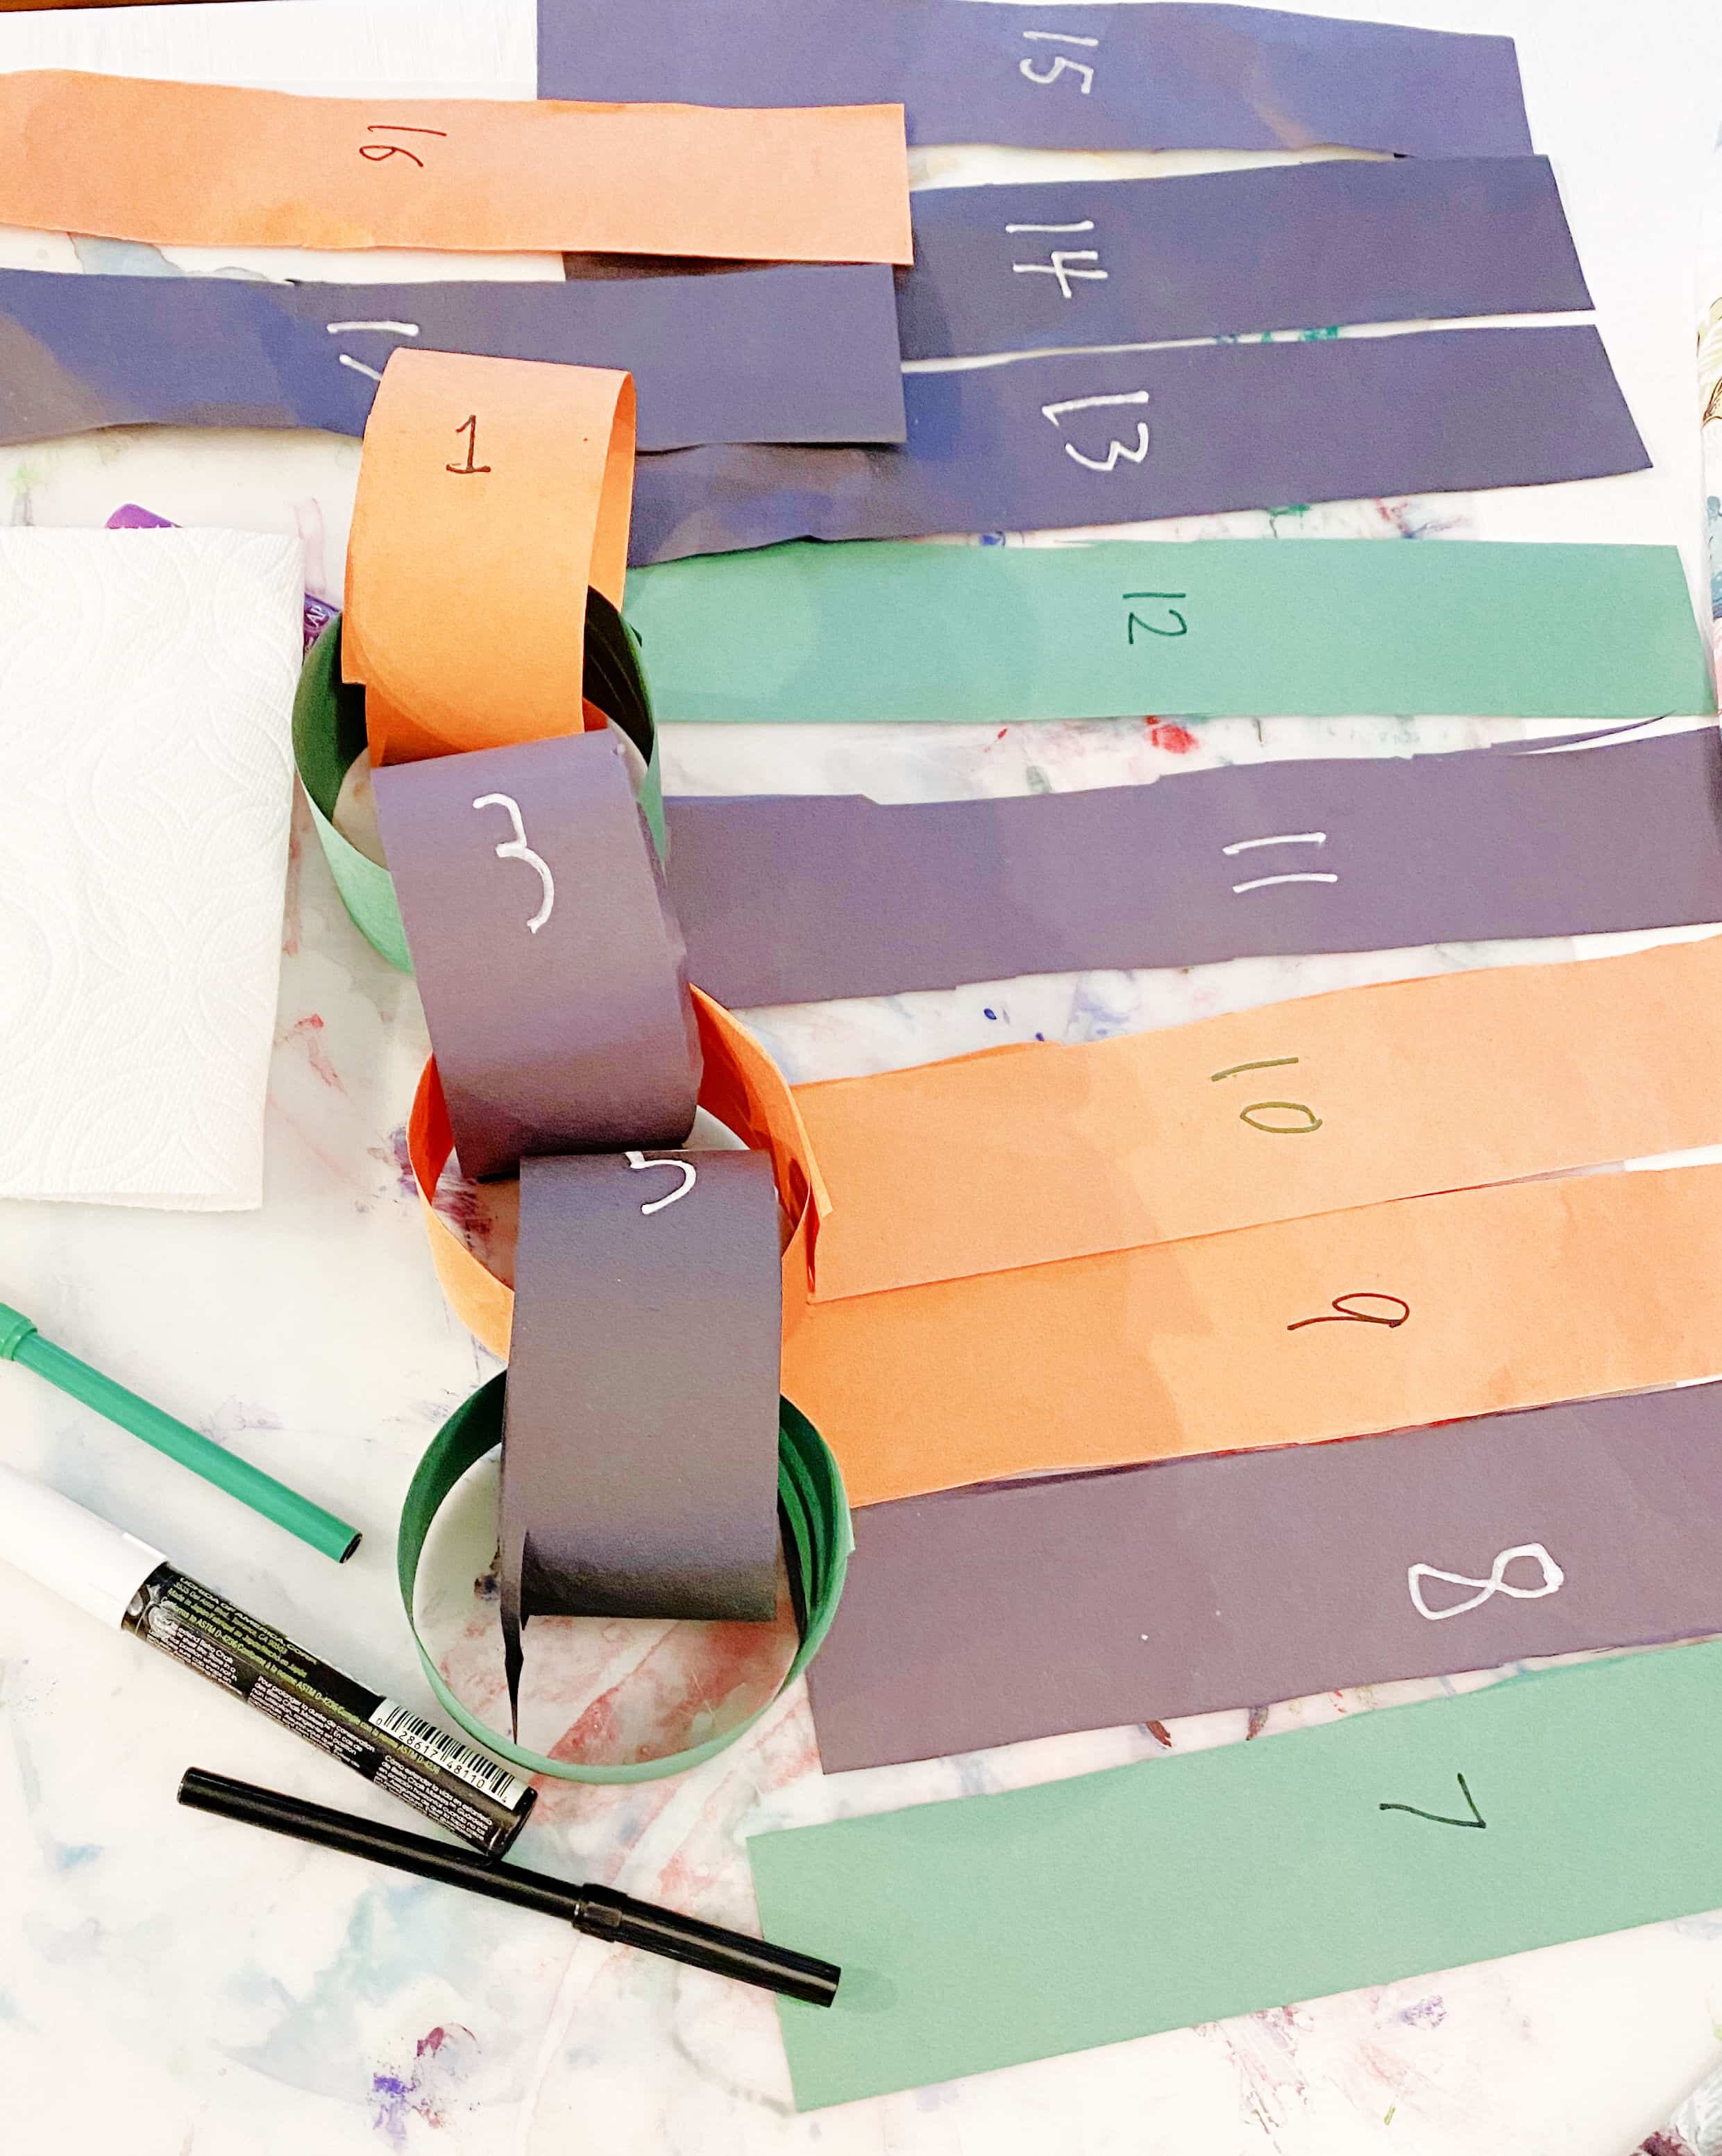
Halloween Countdown Paper Chain
Dive into the festive fun of the Halloween holiday with this paper countdown chain.
You only need a few simple materials, and the steps are simple enough for most kids to work independently.
This post contains affiliate links. As an Amazon affiliate, I earn a small commission on purchases made through these links at no extra cost to you.
Materials Needed:
construction paper (decide how many colors you want in your paper chain)
scissors
markers
(white chalk marker works best on black paper)
glue sticks
halloween stickers for added decoration (optional)
A note about black construction paper - most packs of multi-colored construction paper come with a very light shade of black that looks more like grey. I really like the saturated black paper in the pack I’ve linked to below. You can see the difference in this picture. We only had a small piece of our dark black paper left over from another project. For the rest of our black paper links, we just had to use what we had on hand from our multi-pack of paper.
Prepare your chain
Choose your paper colors. (You’ll need to decide if you’re making a chain with a repeating pattern of 2 or 3 colors, or if you’re keeping it simple with just one color.)
Determine how many strips you need. (Use a calendar to determine how many days there are until Halloween.
Do some math to decide how many strips of each color you need for the paper chain.
Cut strips roughly 2 inches wide. (You can get precise and mark your measurements with a ruler, or you can just eyeball it like we did.
Lay your strips out and number them. Remember to number the strips in the order of your color pattern if you’re using one.
Assemble the chain using the steps below.
Assemble your chain:
Take the paper strip labeled as number one and put a line of glue on the top edge of it.
Fold the bottom edge of the strip up to the top edge from behind and press onto the glue. (don’t crease the fold) You should now have a circular paper chain link.
Take the paper strip numbered with a two, and loop it through the number one chain link before gluing as described above. You should now have two attached chain links.
Continue to loop the next paper strip in the sequence to the previous chain link and glue it to form a new chain link.
How to use the countdown chain:
Once the chain is complete, find somewhere to hang or drape it. We attached a ribbon to the top of ours and hung it to the curtain rod.
At the end of each day, or the beginning of the next day, tear off the bottom paper link to show how many days are left until Halloween!
Educational Benefits
I love how this craft sneaks in math and fine motor skills.
Get the kiddos involved in the math, cutting, and writing required to make this chain.
counting the number of days left til Halloween on the calendar
measuring and counting the number of strips that can be cut from each sheet of construction paper
calculating the number of sheets of colored paper needed
cutting the paper strips
writing the numbers and ordering the strips
Be sure to save this tutorial for the next time you want to make a paper chain. These steps can be used to make a countdown paper chain for any holiday.
The image below is pinnable. Thanks!
You may also like:


