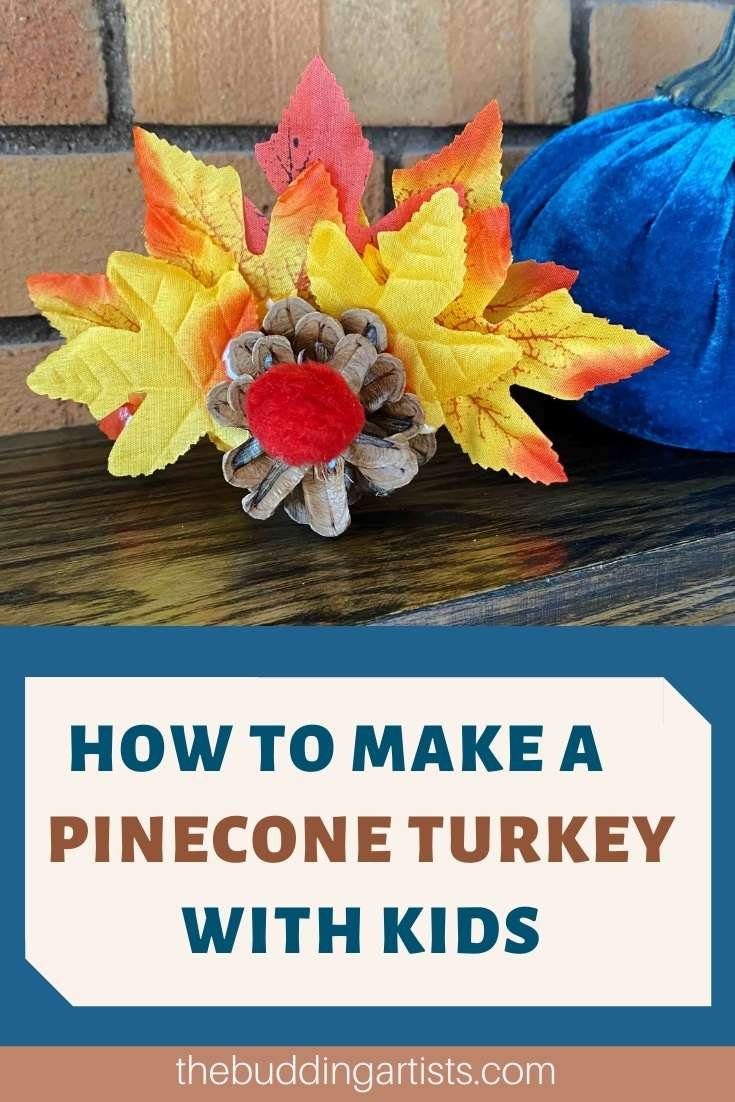
Make a Pinecone Turkey Craft for Kids
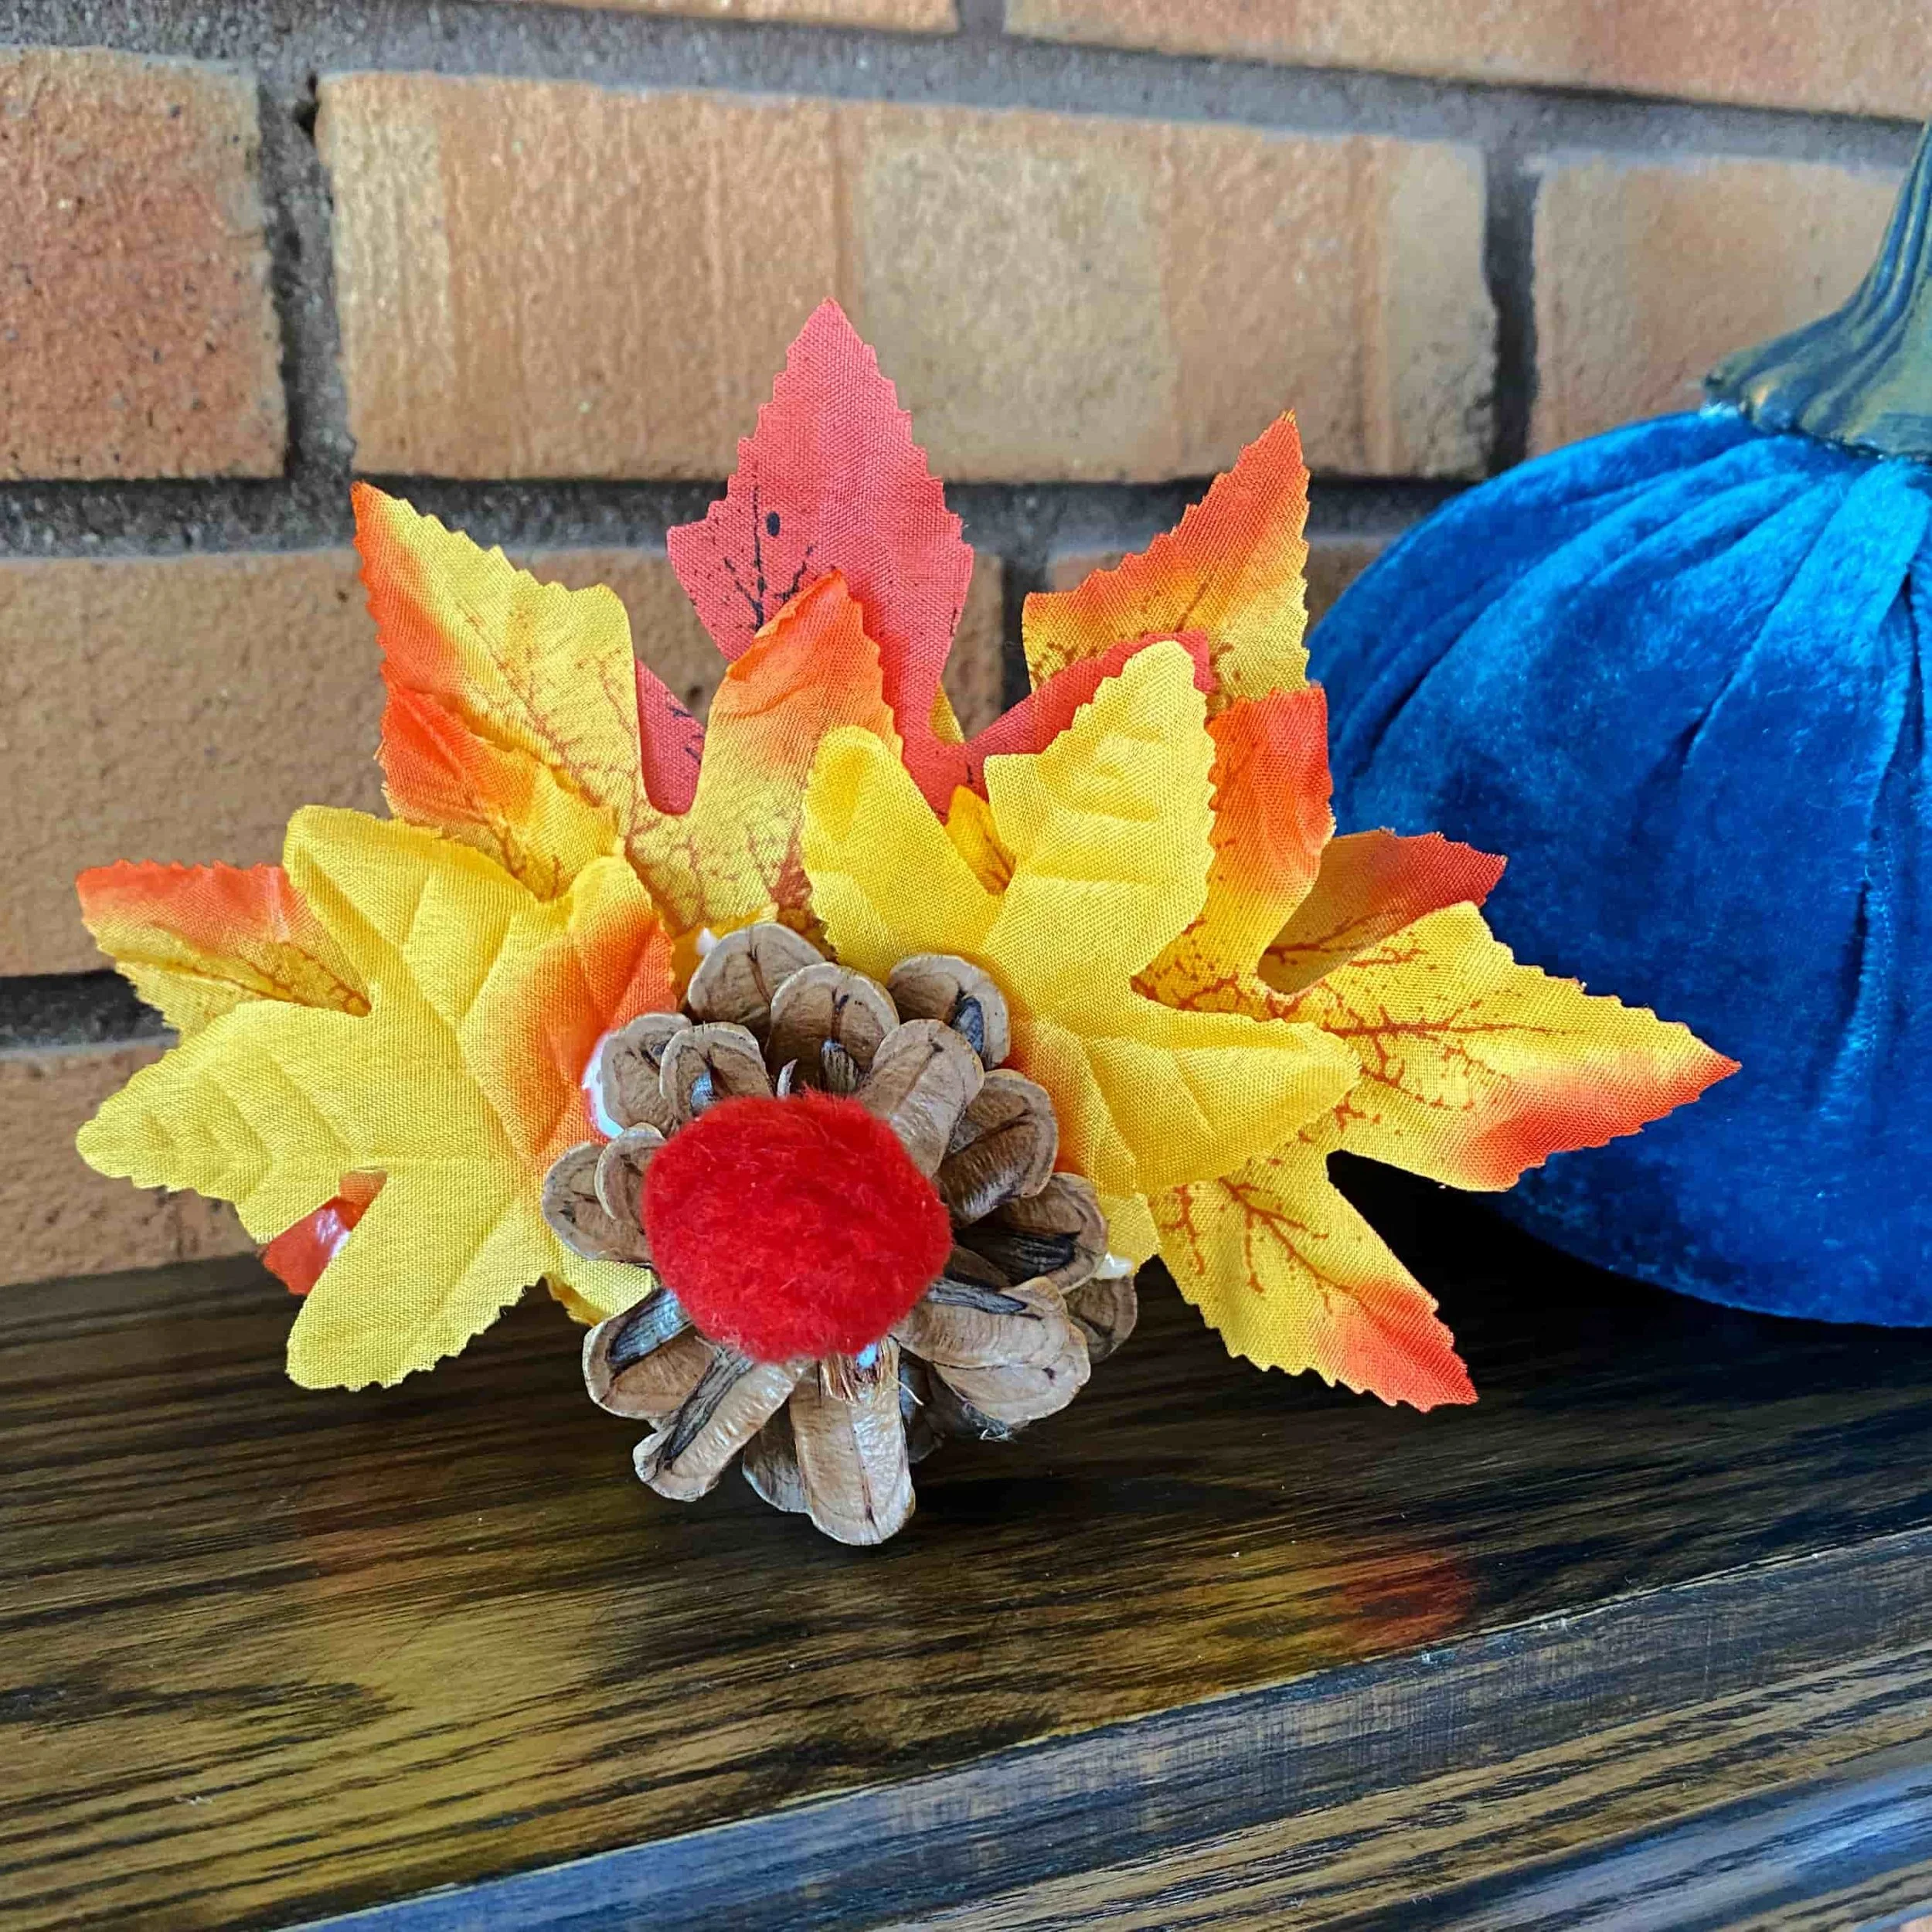
This is a simple pinecone craft that both adults and kids will enjoy. If you want to add a simplistic yet beautiful turkey to your fall decor, look no further than this easy pine cone turkey made with synthetic fall leaves.

Materials needed:
pinecones - if you’ve gathered your own pinecones from nature, read this post on how to clean them. Be sure to do this two days in advance to allow them time to dry. Or you can order pinecones through the link below.
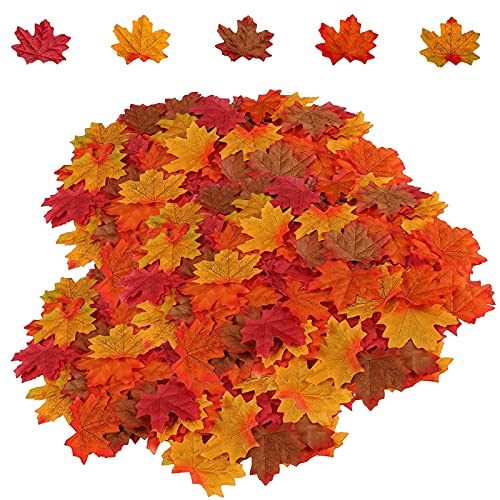
synthetic leaves - about 7 for each pinecone turkey you want to make (linked below)
liquid glue - clear or white
red pom pom - 1 per turkey
This post contains affiliate links. As an Amazon affiliate, I earn a small commission on purchases made through these links at no extra cost to you.
First:
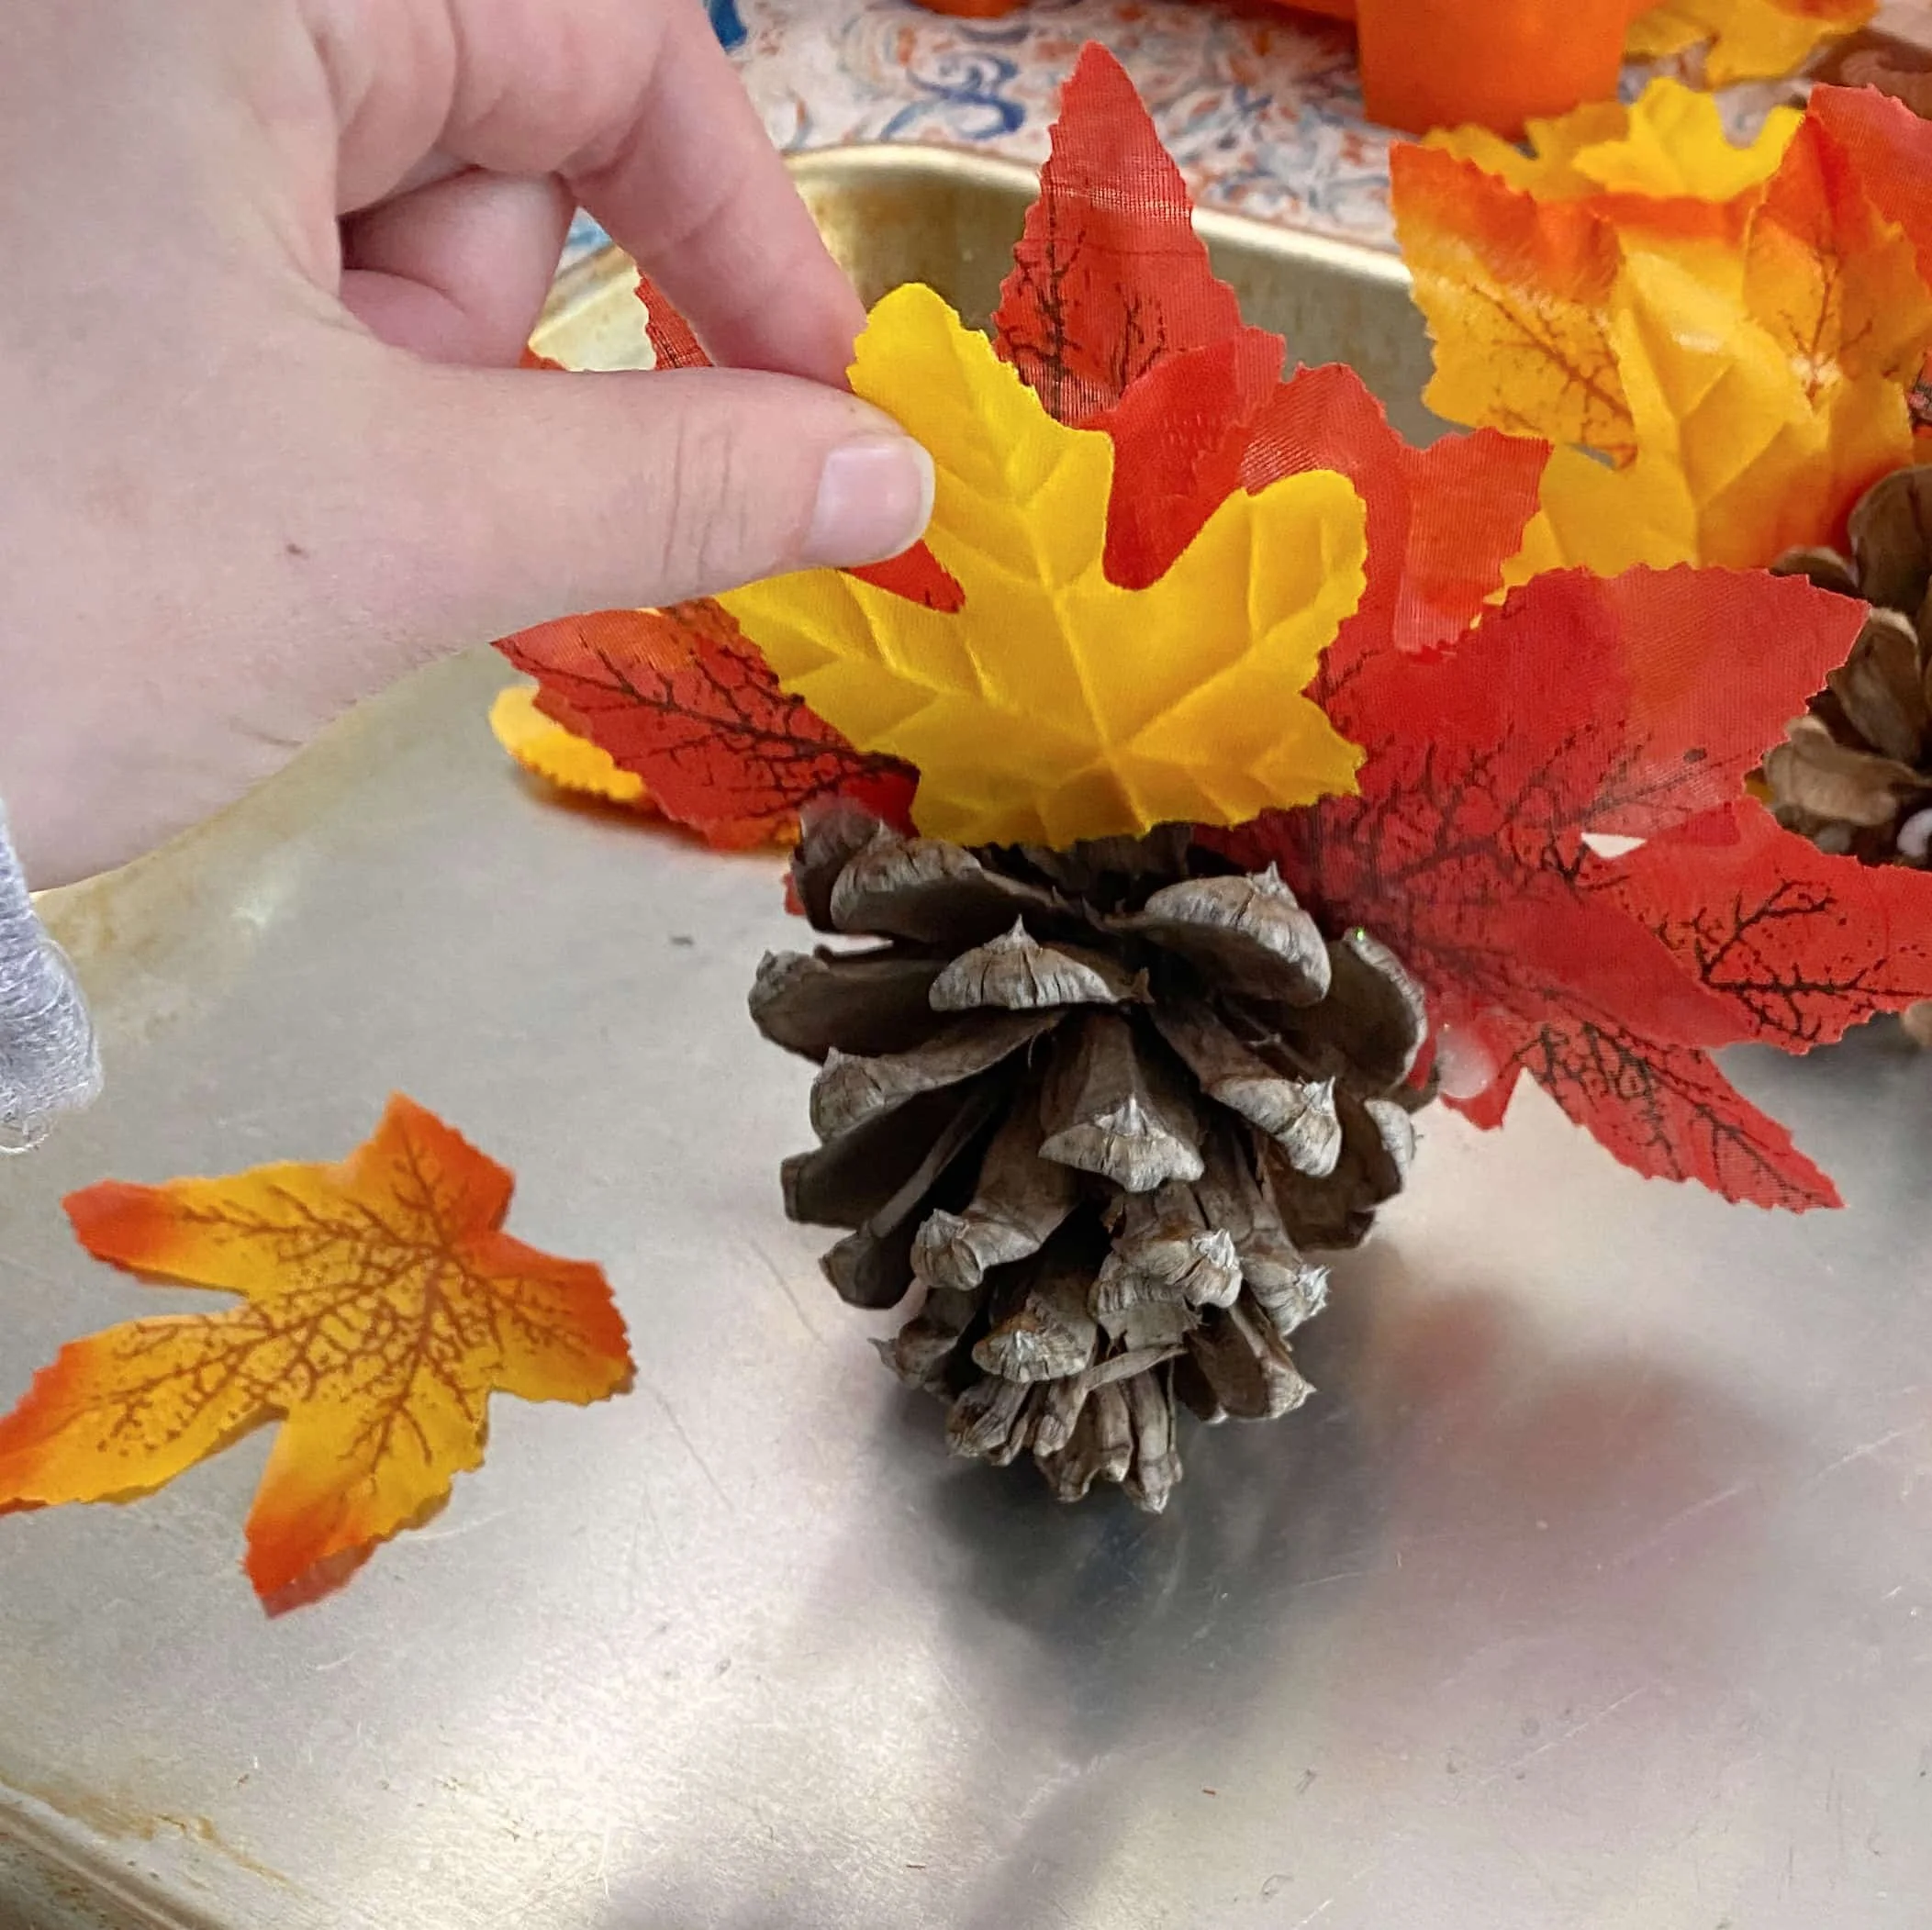
Start by choosing the leaves you want to place on your pinecone. We decided to use 7 leaves to represent the tail feathers of our turkey. (A layer of 4 leaves in the back, and a second layer of 3 leaves.)
Lay the pinecone on its side. Gently roll it around a little to see which way you want it positioned. (Every pinecone is a little different.)
Tuck some leaves into the openings at the back of the “turkey” (bottom of the pinecone). These leaves won’t stay put. This step is just to get a feel for how you want to place your leaves (larger ones in back, for example).
Next:
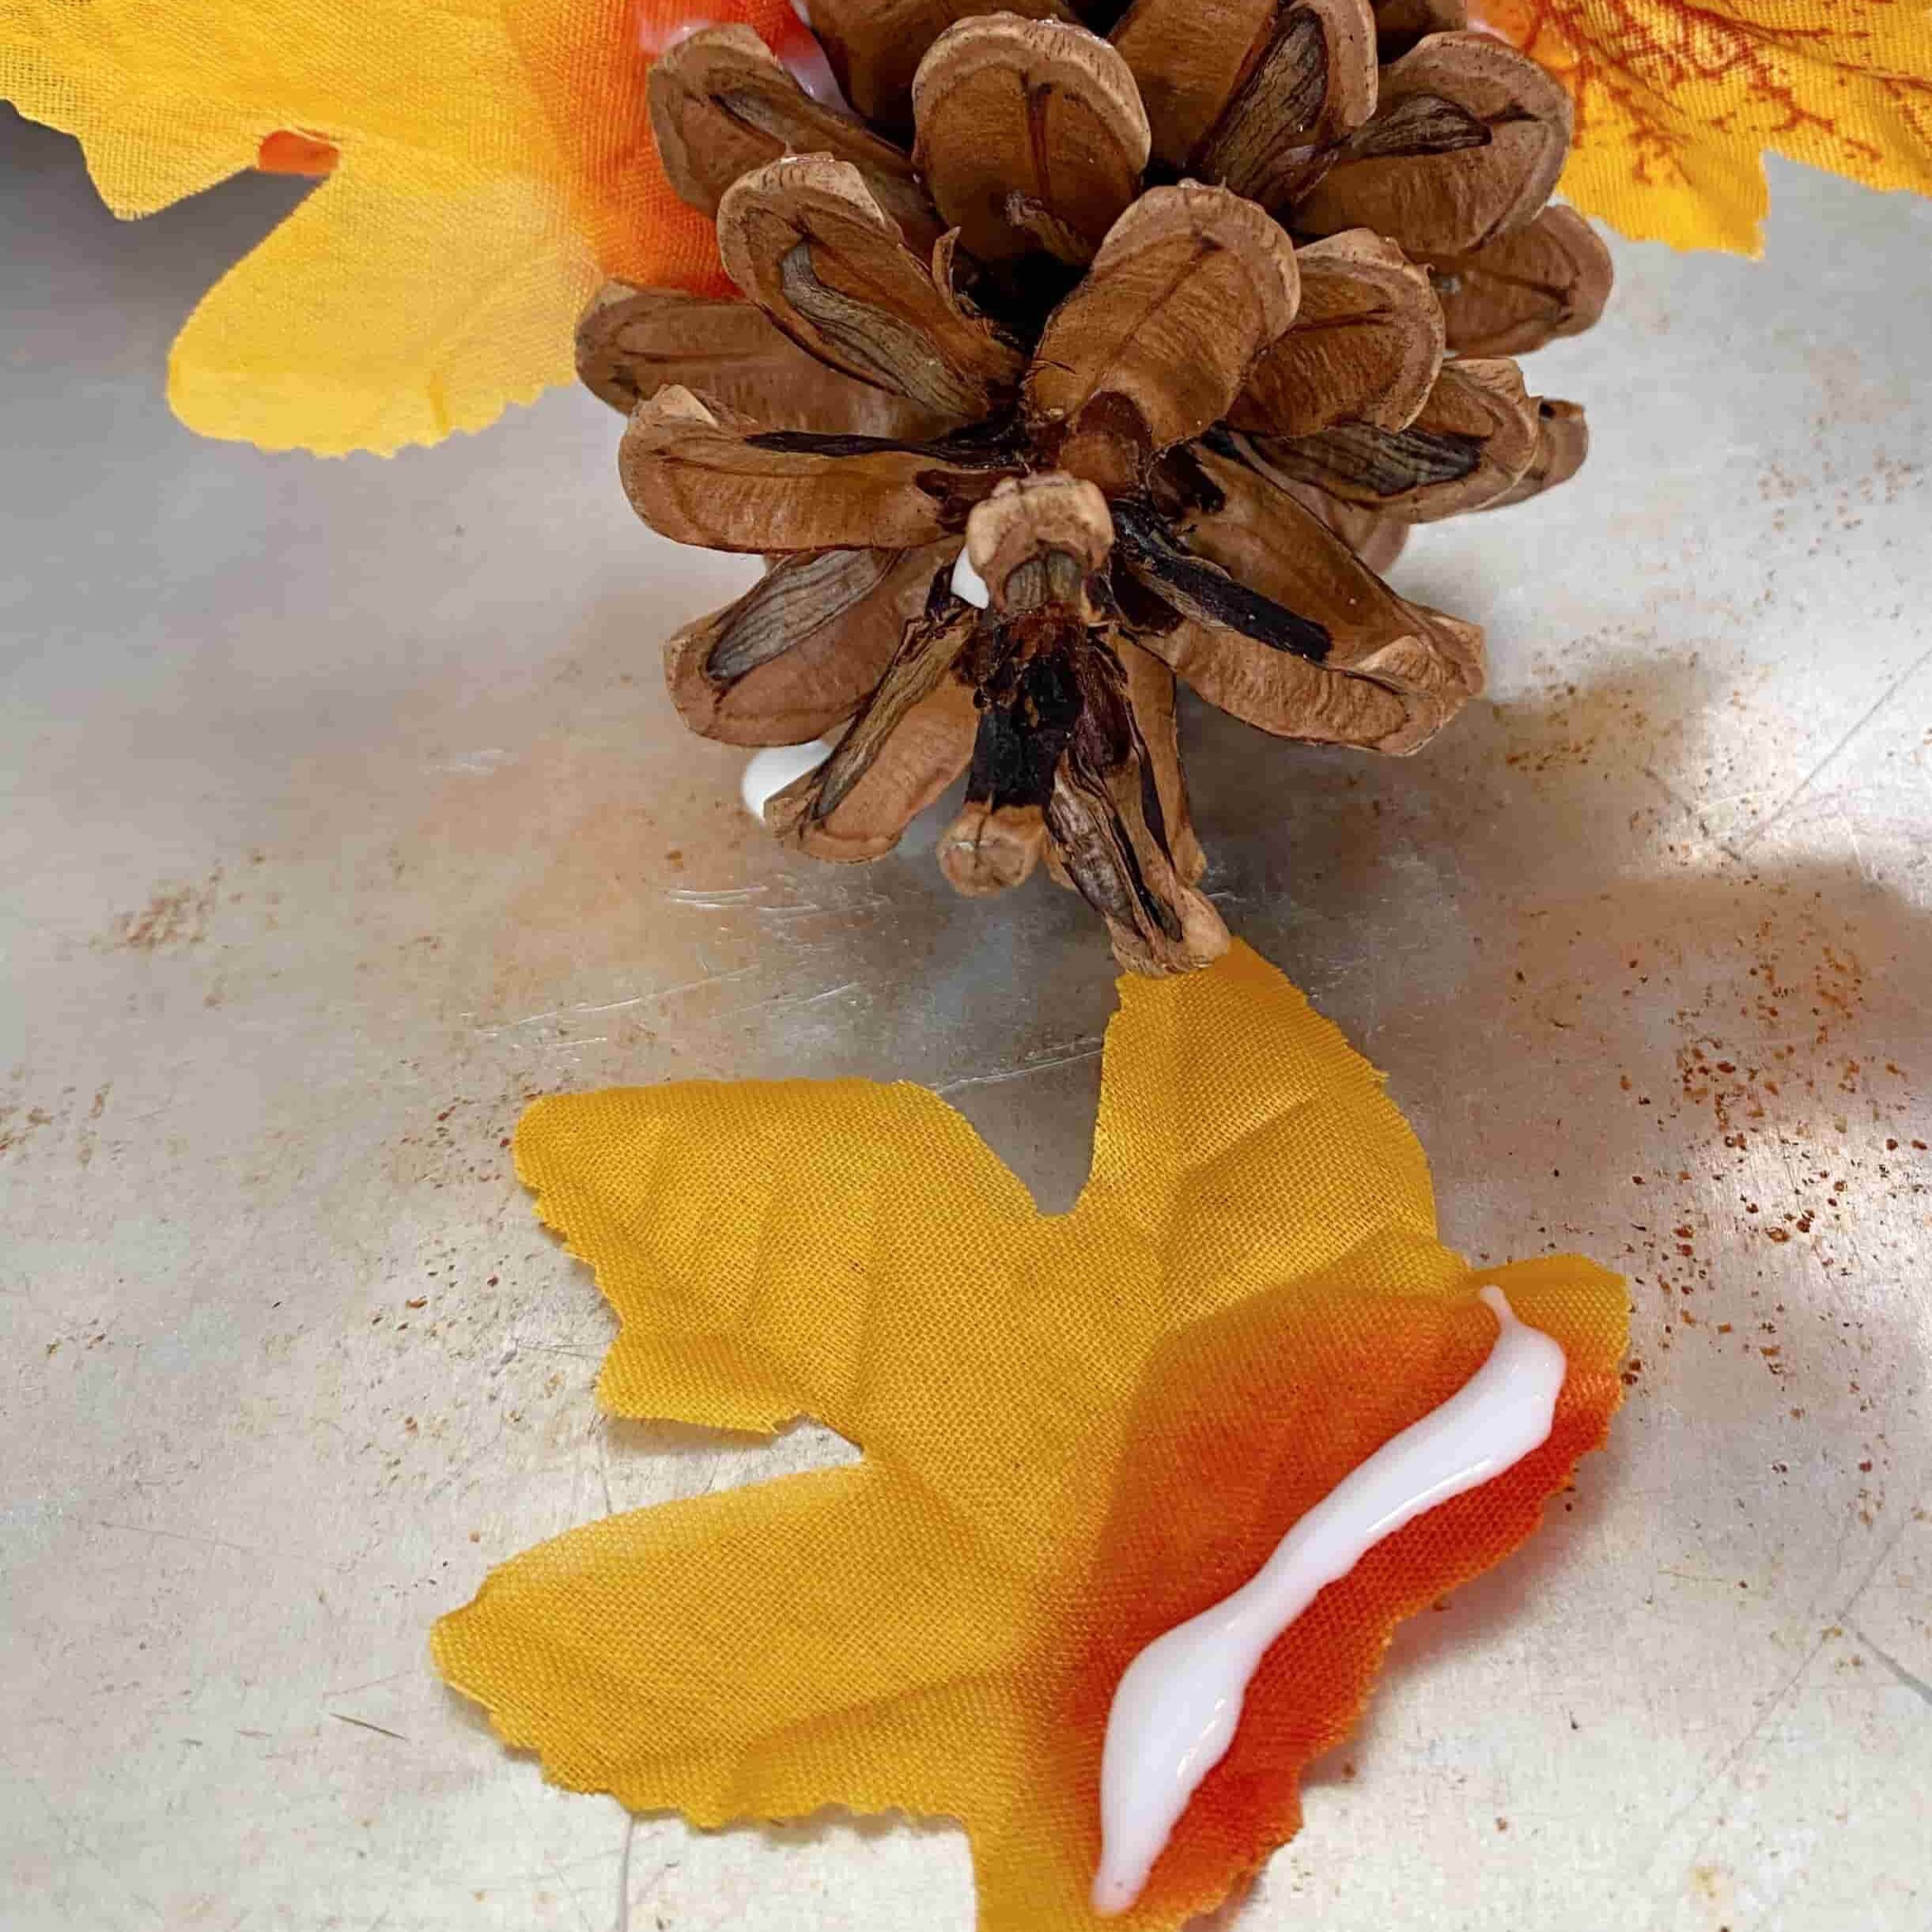
Once you’ve determined the placement of your leaves, you’re ready to glue.
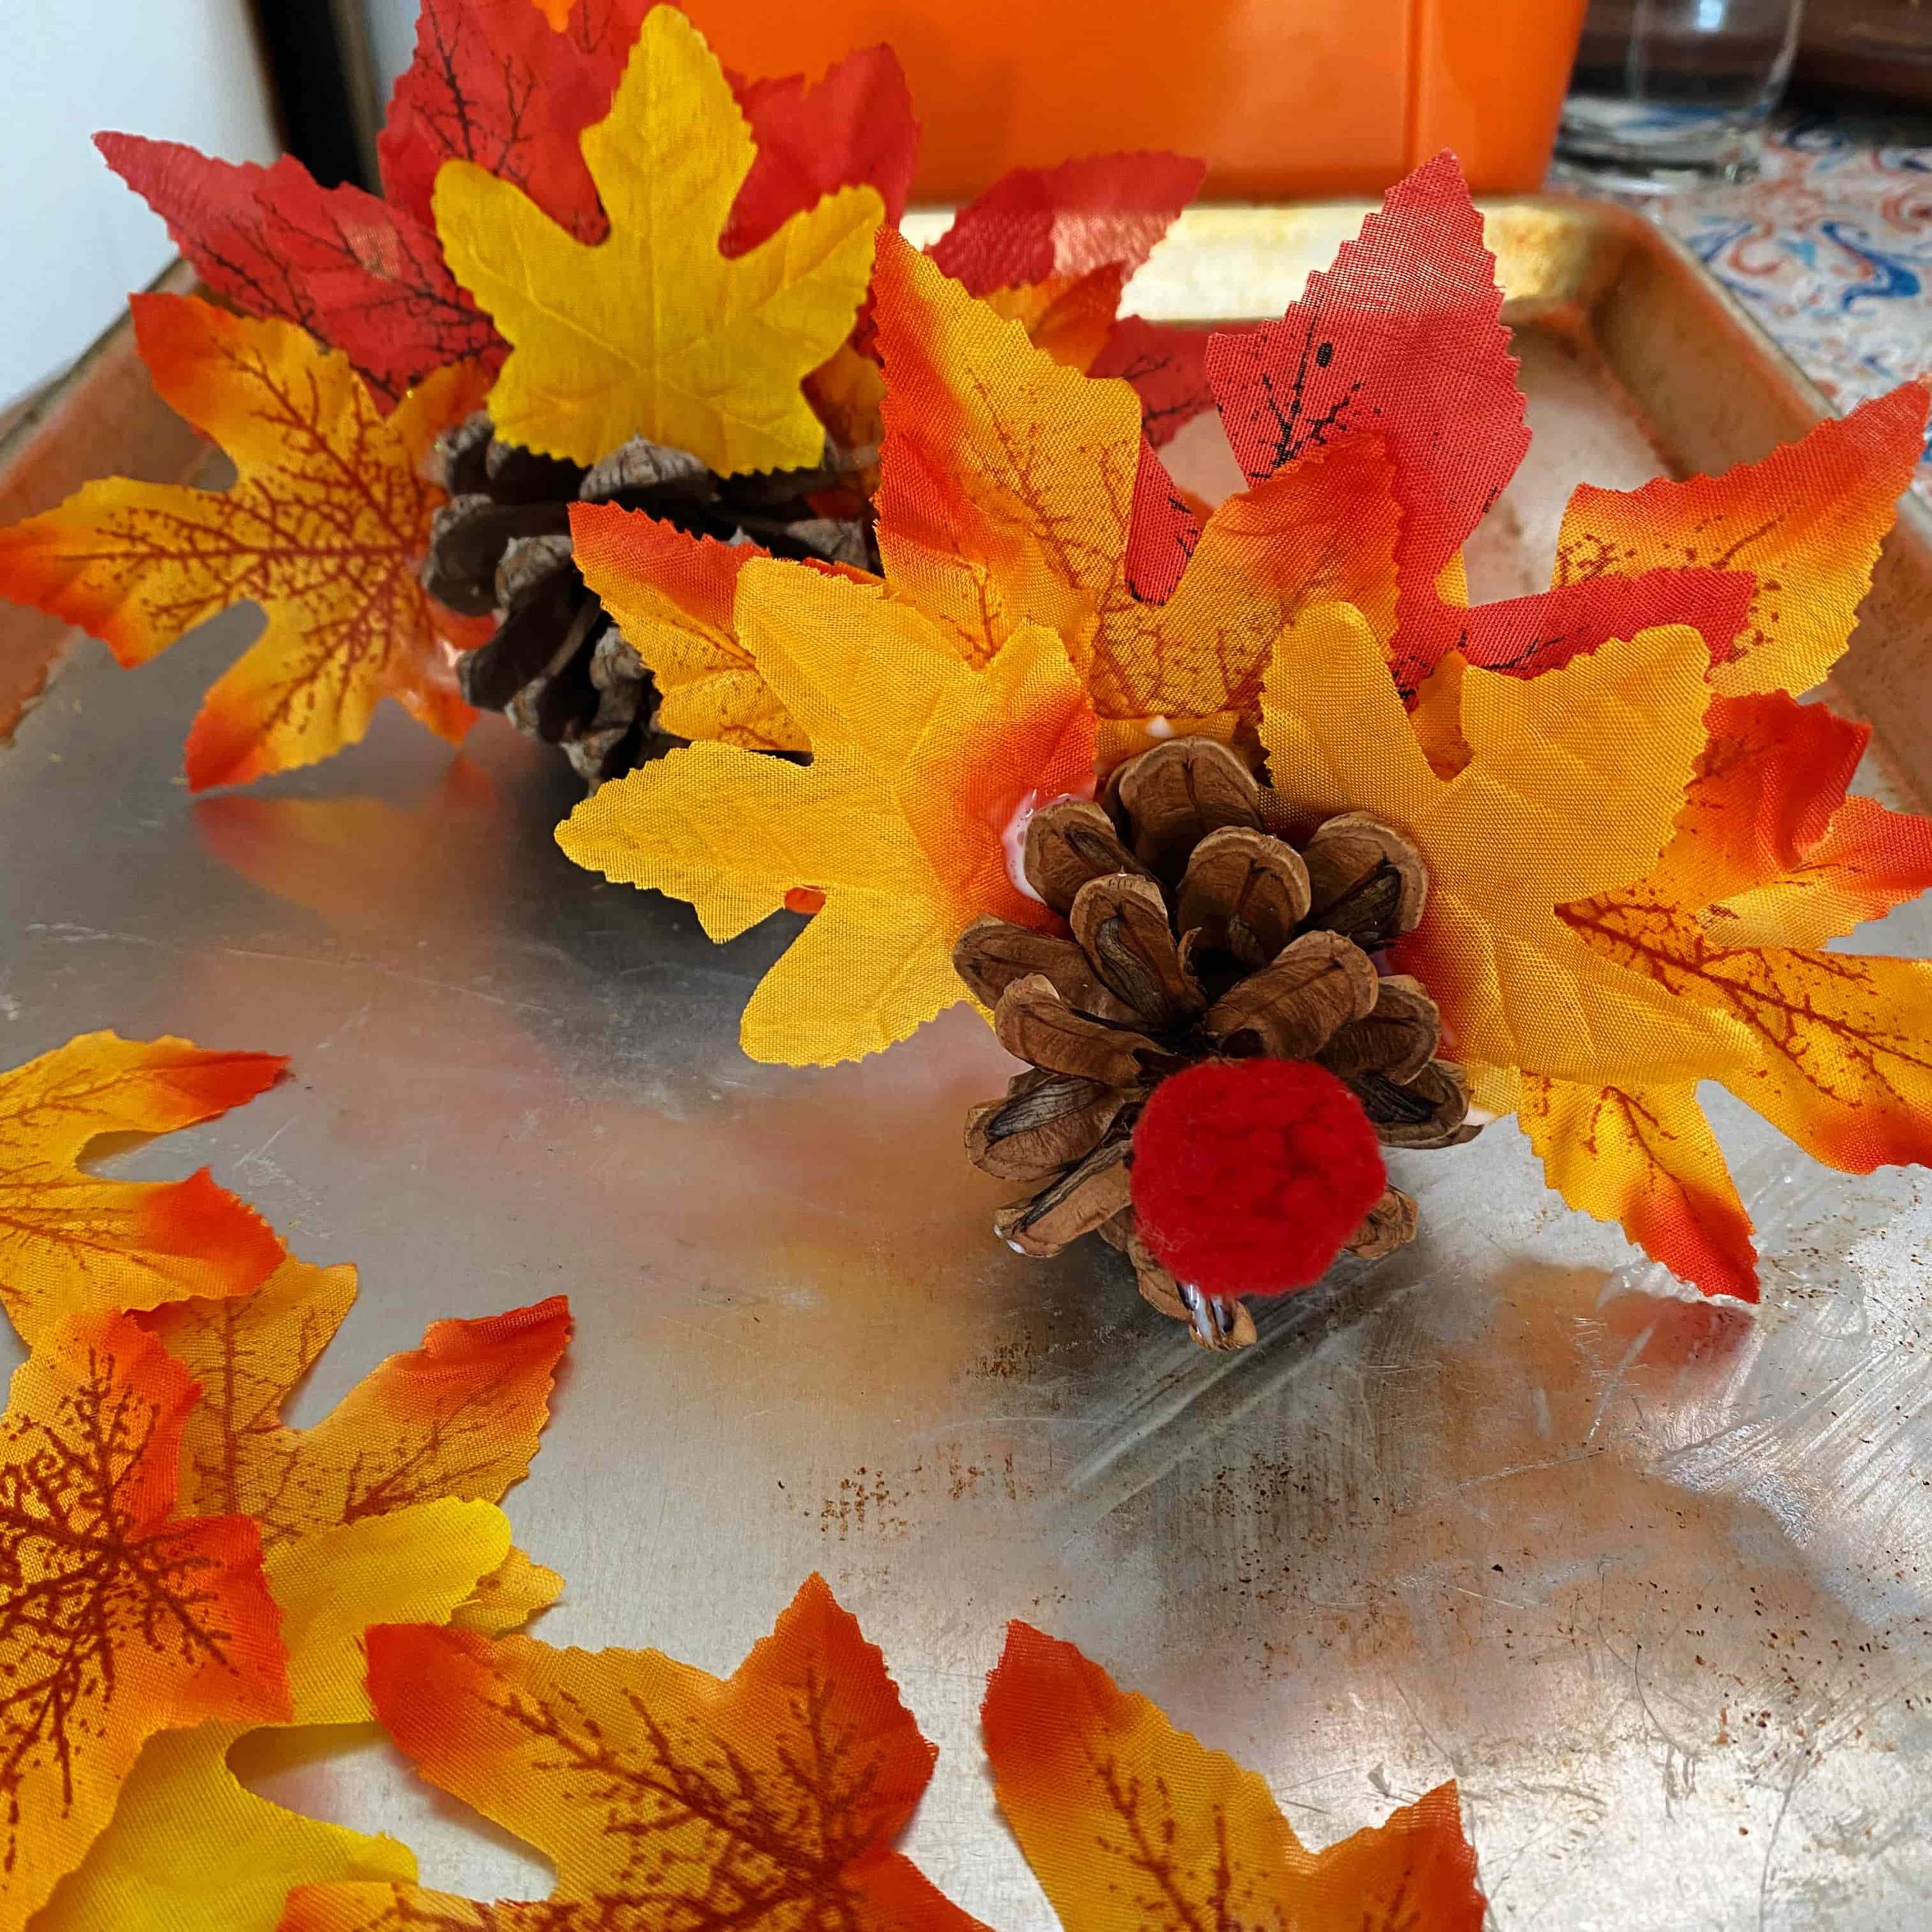
Put a bead of liquid glue along the bottom edge of a synthetic leaf and tuck it into the pinecone. Hold it in place for a bit to give it a chance to adhere.
It’s easier to attach the leaves to the back row of the pinecone before doing the second layer.
Attach all the leaves one at a time adjusting them slightly as needed.
Some of the glue may be visible at first, but it will not really be noticeable on the finished craft.

Then:
Determine where you will attach your pom pom nose/wattle. There are usually a couple of pinecone scales close enough together right at the tip of the pinecone that would make a good attachment point.
This time put the beads of glue directly on the pinecone and smoosh the pom pom into place. Hold it for a bit to help it adhere.
Finally:
All that’s left is to determine where you will display your pinecone turkeys. We put ours up high on the mantle at first because I thought they would be too delicate to let anyone play with. But then, as I clumsily rearranged my mantle decor, I knocked a pinecone turkey off and it landed hard, but was still in perfect condition. So now our turkeys are placed on the side table where little hands can pick them up and admire them. I just have to keep them away from the dogs who love to shred pinecones.
I hope you’re inspired to try out this simple pinecone turkey craft either on your own or with some kiddos.
Be sure to save this tutorial for later.
The image below is pinnable. Thanks!